If you’re like me, you’ve probably been enjoying watching David Shiffman and Craig McClain take their first steps into 3D printing. For a small subset of people, small consumer 3D printers can be an incredibly useful tool, for a larger subset, 3D printing has fantastic teaching applications, but for most enthusiasts, it’s a fun hobby. Fortunately, the 3D printing hype train has slowed down in the last few years and it is now much easier to separate the wheat from the chaff and drill down into the applications where 3D printing really shines.
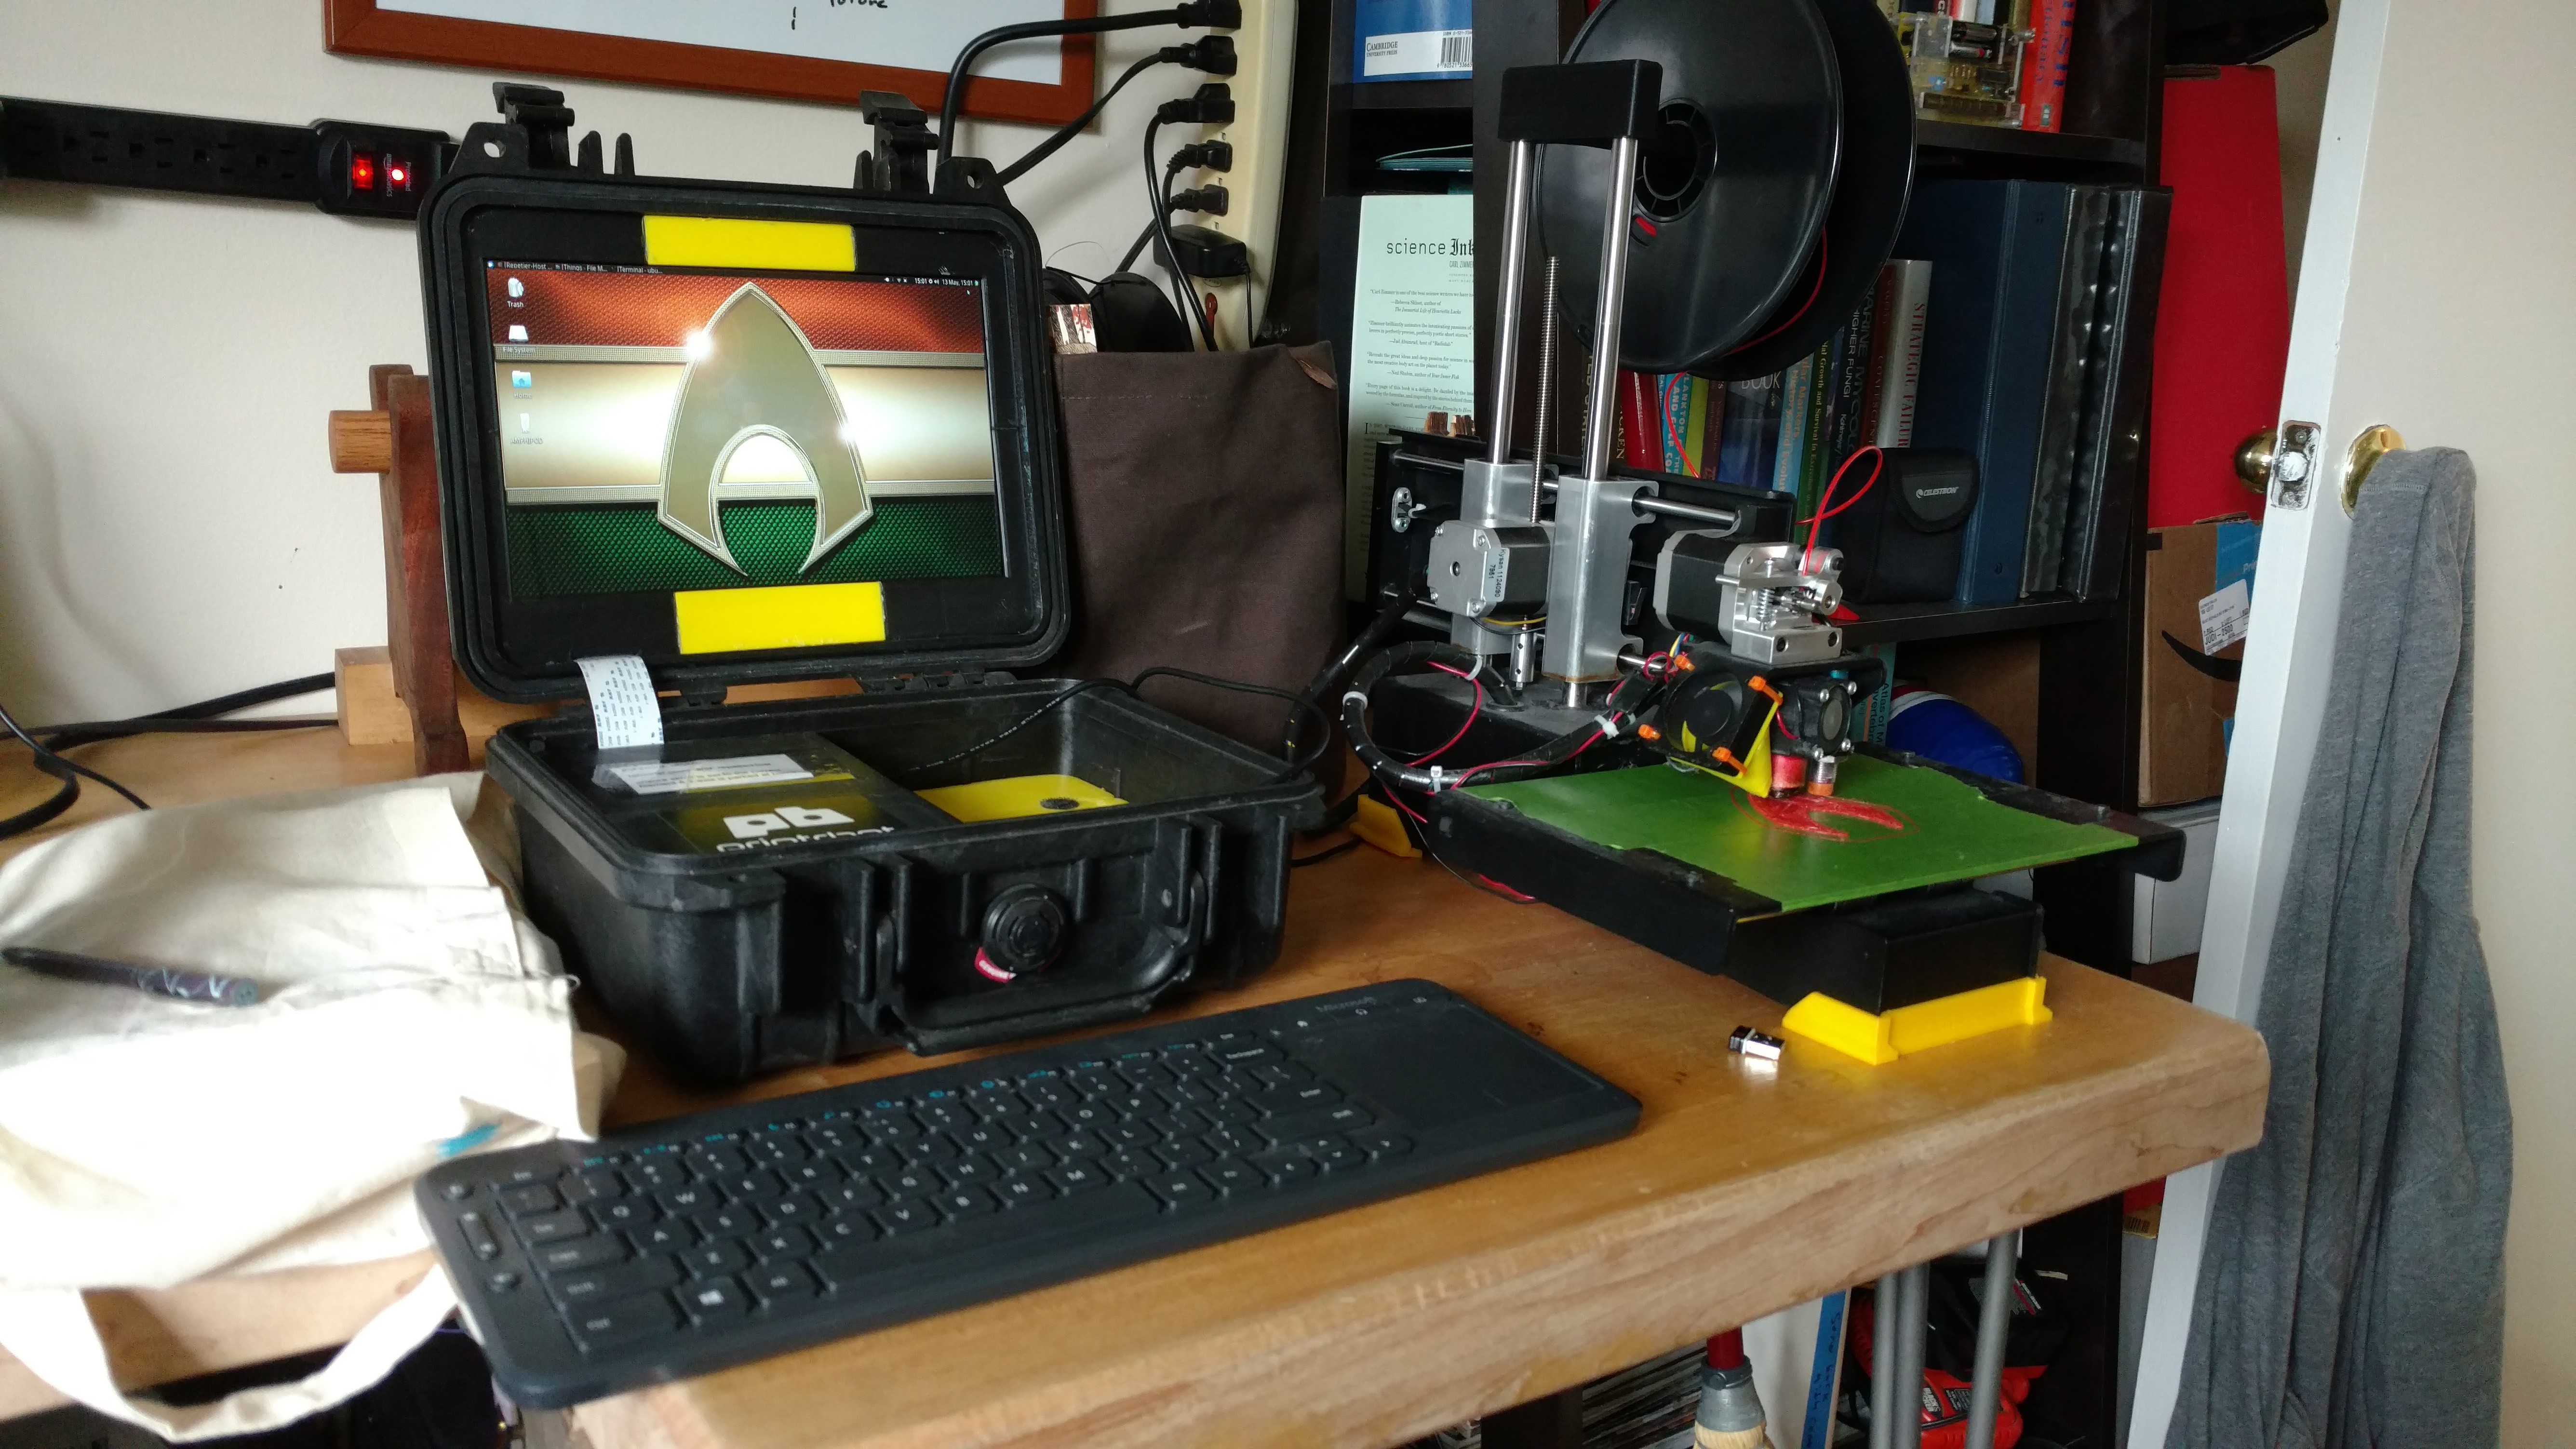
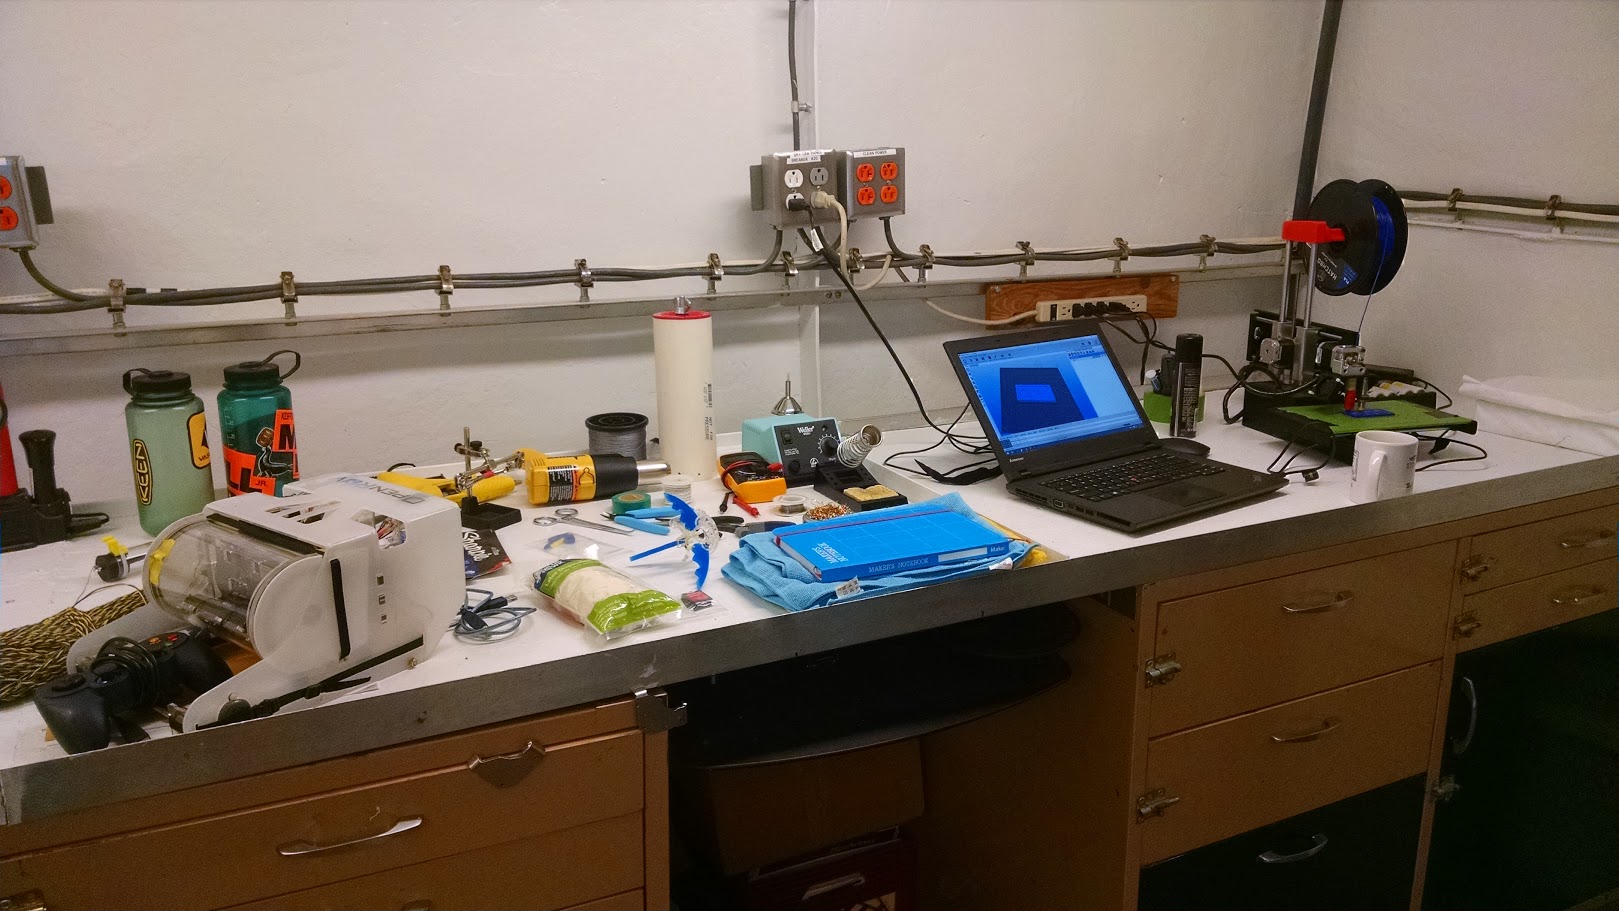
3D printers are fairly inexpensive now. You can get a pretty okay 3D printer like the Monoprice Mini (which we used at various hack-a-thons and maker events) for around $220 USD on Amazon. I’ve worked a bit with that particular printer and it’s good. It won’t blow you away but it will do everything you’d expect a solid 3D printer to do. My in house machine is a Printrbot Simple Metal, which has since been replaced by the Simple Pro. It’s not the cheapest one out there, but it’s an absolute beast, taking all the abuse I can throw at it. It’s even been to sea.
Start slow. Don’t dive in to the huge, articulated llama just yet. Start slow, print a cube. Print a bigger cube. Download one of the many test prints that help you find the tolerances of you machine and its software. I like the boat benchmark, because I like boats. If you can print a clean 3D Benchy, you’re ready to print anything (that can be printed).
Get the right tools. Most beginners will start with a PLA printer. There are a million different tricks to getting a good print in PLA, from hairspray on the bed to the right kind of kapton tape to vibration dampers. You can experiment with infinite combinations, but after 5 years of printing in a variety of settings, I’ve found the following tools have become essential to every print.
- Frog Tape: It’s painter’s tape, but it’s awesome painter’s tape. Plus it’s green.
- Locking Hemostat: Pliers and forceps are fine, but a good, long, curved locking hemostat has a huge amount of utility, gives you great grip, and can free up a hand when you need it.
- Extra Firm Hairspray: Hairspray is a heat activated adhesive. It’s great for getting prints to stay flat on the print bed. I tested a bunch and found Tresemme Two Hairspray Extra Hold works the best.
- Print Removal Tool: I’ve tried a variety of paint scraping tools and at the end of the day, this particular 3D Print Removal Tool has proven to be the best at getting the job done. It’s super thin for getting under stubborn prints and thickens to a few mm closer to the base, making prying much easier.
Dial in your machine. Regardless of whether you built it from scratch, assembled from kit, or bought pre-made, every printer has its own quirks. Investing some time into making sure you machine is dialed in and understanding where the tolerances are can make a world of difference. On my Printrbot a bed level adjustment on one corner that was literally the difference in height of a sheet of paper improved my results from really good to consistently perfect. Bed levels, zeroed z-axes, belt tension, and amount of vibration can all impact your prints. The good news? Most of the tools and accessories you need to increase you machine’s performance can be printed on the machine.
Learn to be critical of “things”. Thingiverse is the clearinghouse for great 3D printable “things” (yes, the technical term for a 3D printed object is thing). But it’s also a place where a lot of crap gets uploaded. There’s nothing more frustrating to a 3D printing newbie than spending days trying to get a clean print of something that just can’t be printed. You want good wide bases on the bottom with minimal overhangs. You want to see a nice big flat surface that will adhere to the bed. In other words, don’t try to print an upside-down pyramid. Learn to discern which things are good and which will simply never work.
The simplest test is to look for things that have clear pictures of the finished project, not just the 3D models. People are proud of their designs and prints. If there’s no evidence that something has actually been printed, odds are that model has never been successfully printed.
Make your own designs. The more time you invest in making you own design to print, the greater your understanding of the whole system will be. By designing your own things, you’ll be able to see how and why certain things don’t print, what makes a good, functional design, and how much work goes in to seemingly simple things. Great tools to start with are Sketchup and TinkerCAD.
Share your creations. The 3D printing consumer renaissance started because open-source developers shared their designs and software and allowed people to develop and innovate on their original ideas. You’re first prints come from free and publicly available designs. If you make something cool, share it with the world.
