We are entering year two of pandemic lockdowns and remote meetings, teach from home classes, and teleconferences are hear to stay. Early last year we addressed some of the basics of perfecting a decent space for teaching from home: The true, essential, and definitive guide to looking like a professional while teaching from home.
But some folks want a little extra edge, a little something that dramatically improves how you look in the camera while teaching your class, giving a talk, or holding a meeting. And not just because of vanity. The better and clearer your camera image, the easier it is for your audience to see and understand you (though vanity is a perfectly fine reason too, we have all spent far too much time this year staring at ourselves in the little Zoom box).
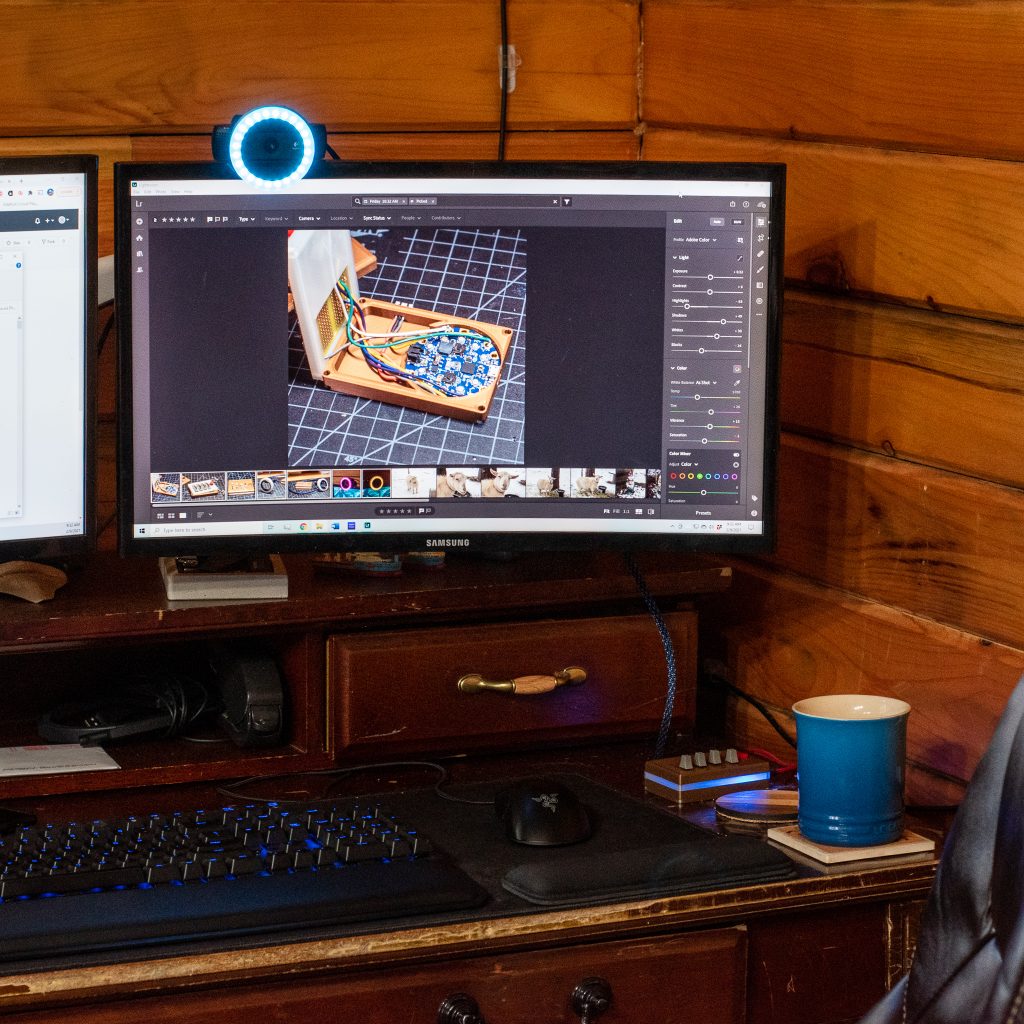
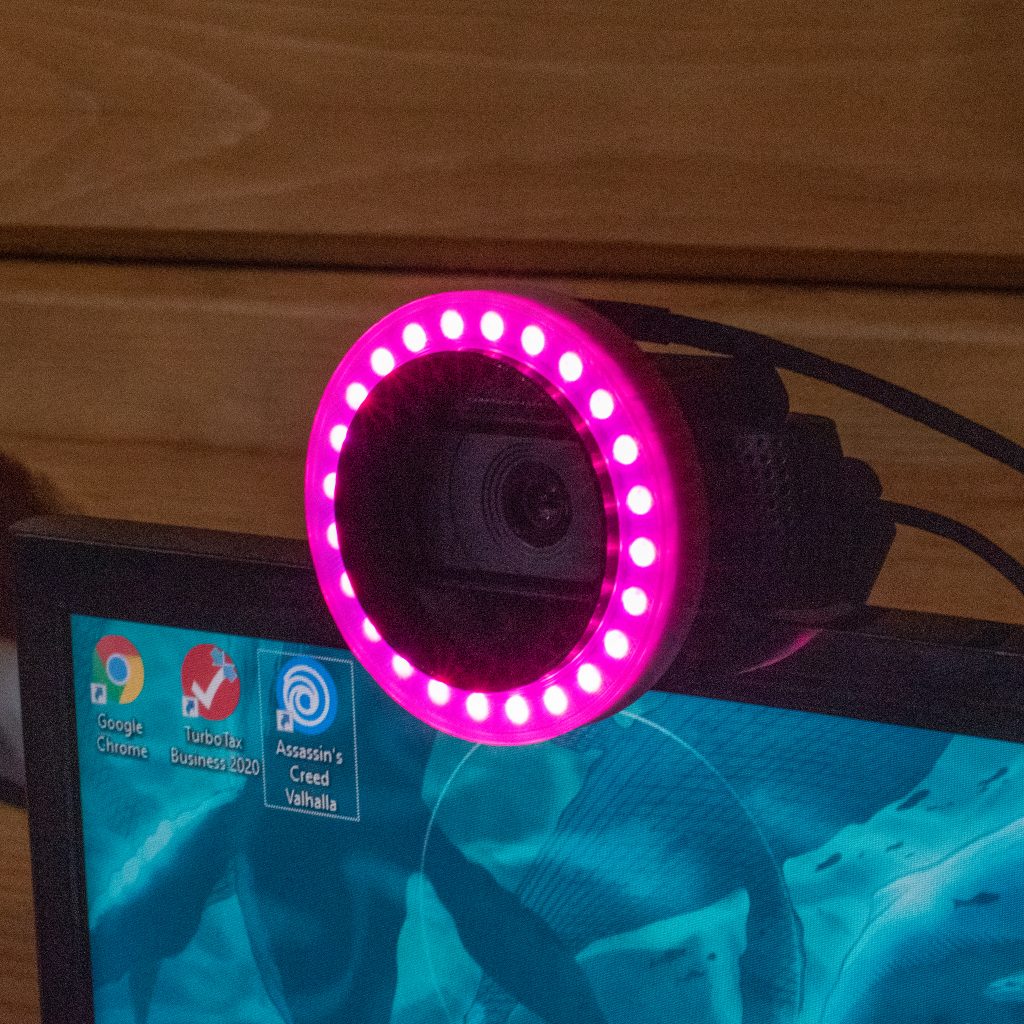
You could buy a ring light to provide the best possible light source for looking good on a webcam, but why buy something when you can spend several hours soldering and coding your own custom, addressable, RGBW ring light.
The good nerds at Southern Fried Science are here for you. I spent the last month polishing up my coding, soldering, design, and 3D-printing skills to bring you a 3D-printed, DIY ring light that you can build and code yourself.
Is it cheaper than a commercial ring light? No.
Does it work better than a ring light designed and manufactured by a professional team of engineers? Also no.
Can you independently control each color channel so it looks like you’re in the Matrix, under water, of cosplaying the This Is Fine dog via a large, bulky box that sits on you desk? Yes.
Does it come with a panic button that lets you bail out of Zoom calls by pretending that you’re being pulled over by the police? You better believe it does.
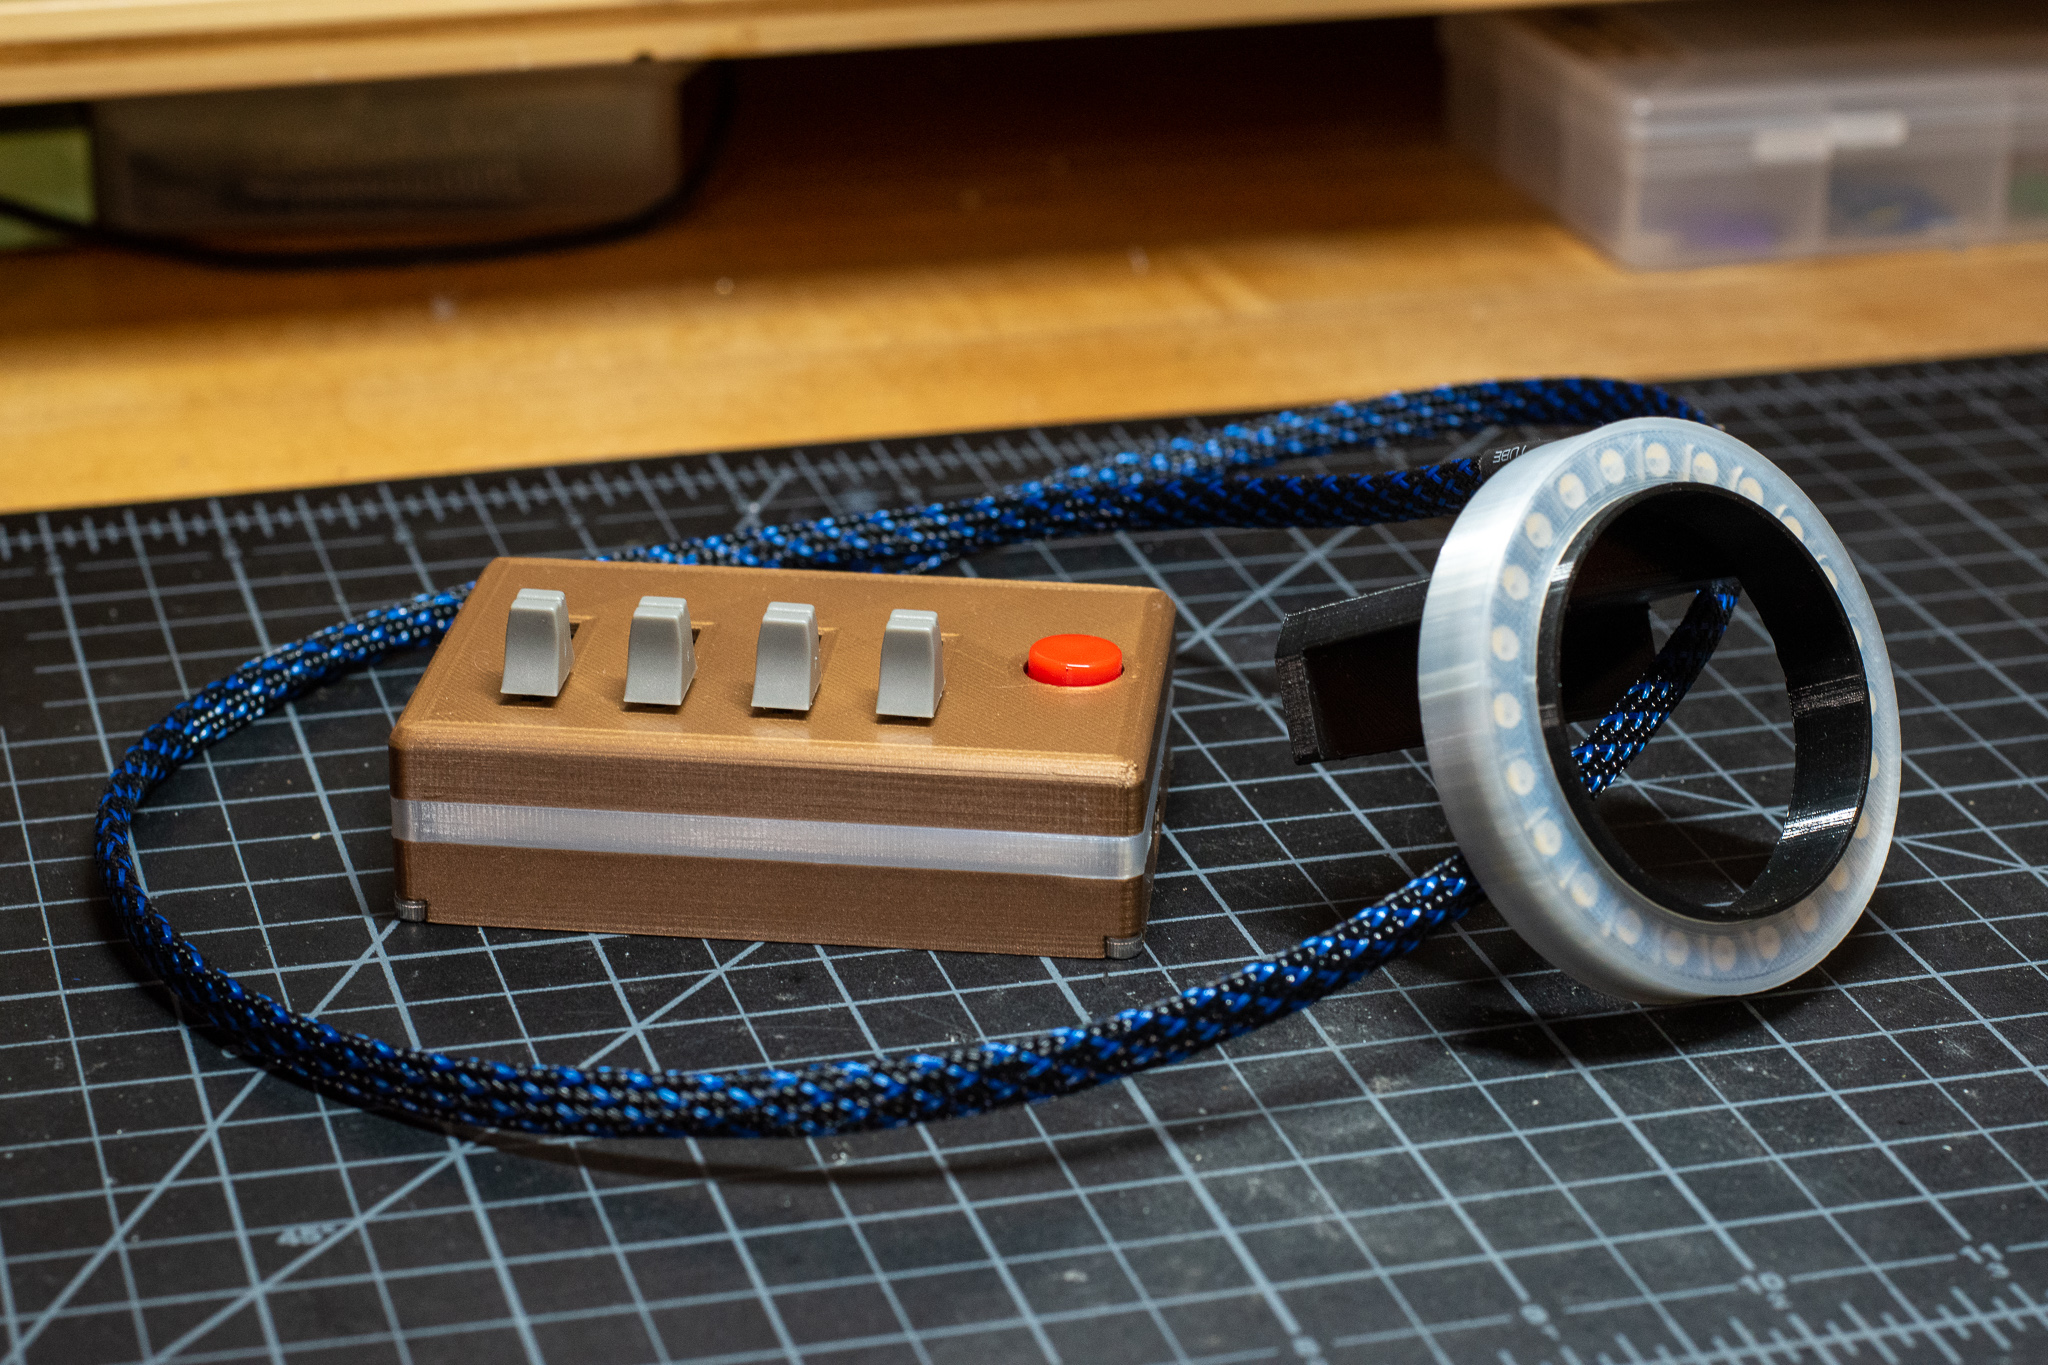
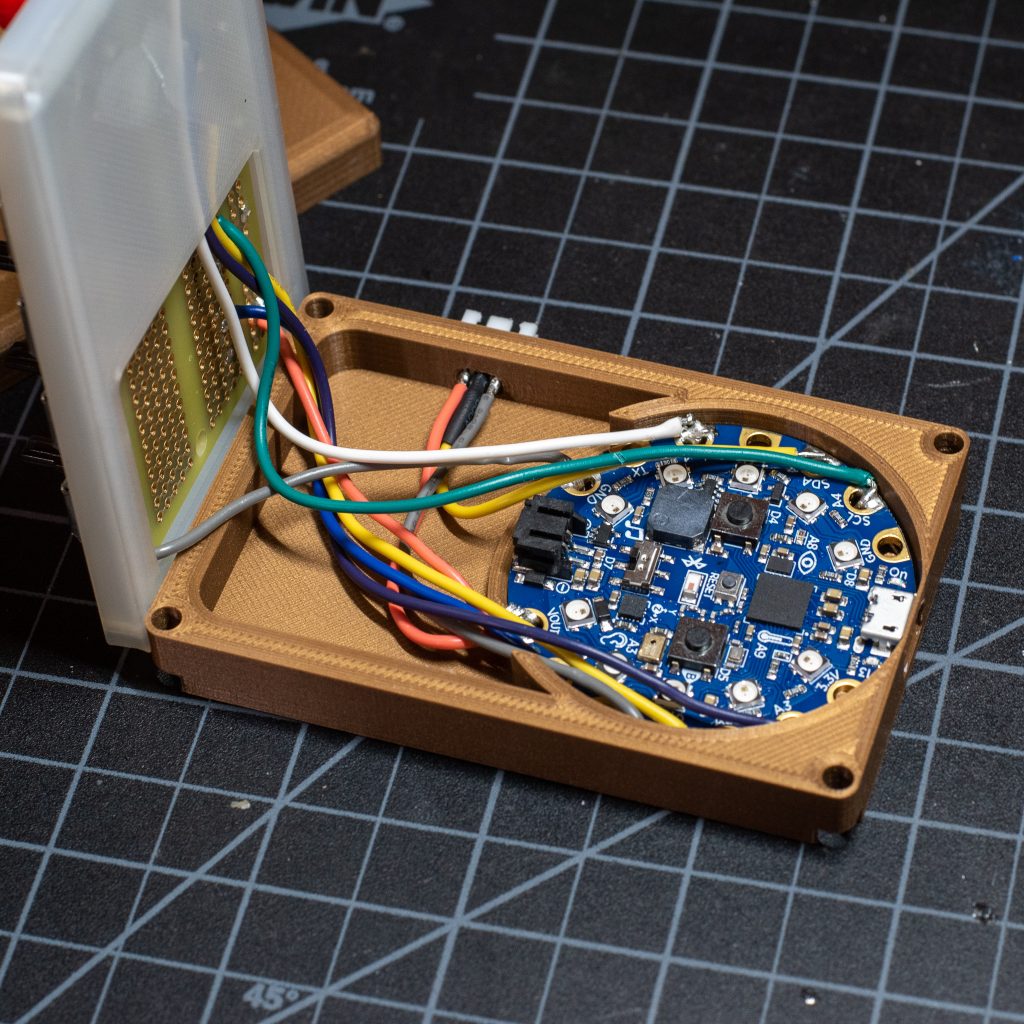
The system is built around the Adafruit Circuit Playground Bluefruit, a nice little microcontroller that uses python to control a wide range of functions and is very easy to update. The Bluefruit is overpowered for this application but it costs the same as the base Playground Express and has Bluetooth capabilities in case you want to go wild and make an app-controlled ring light.
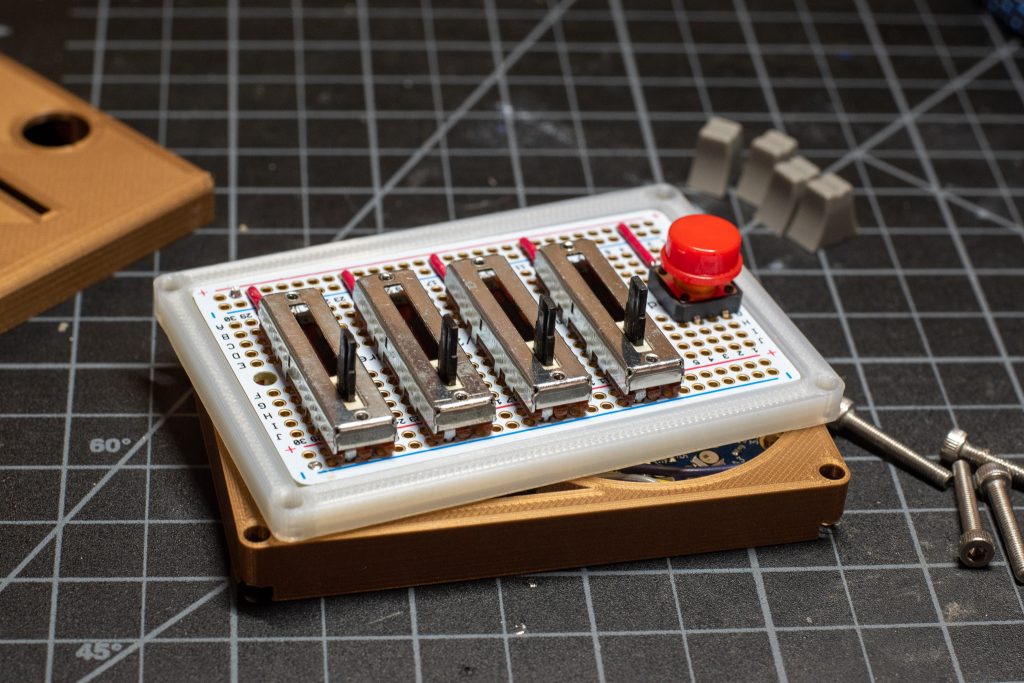
The electronics for this project are dead simple. No fancy wiring is needed. The slide potentiometers and super-clicky button are mounted on a half-sized protoboard. Slide potentiometers need to be connected to the positive and ground rails on the breadboard as well as their respective analog pins. The clicky button only needs to connect to positive and its read pin.
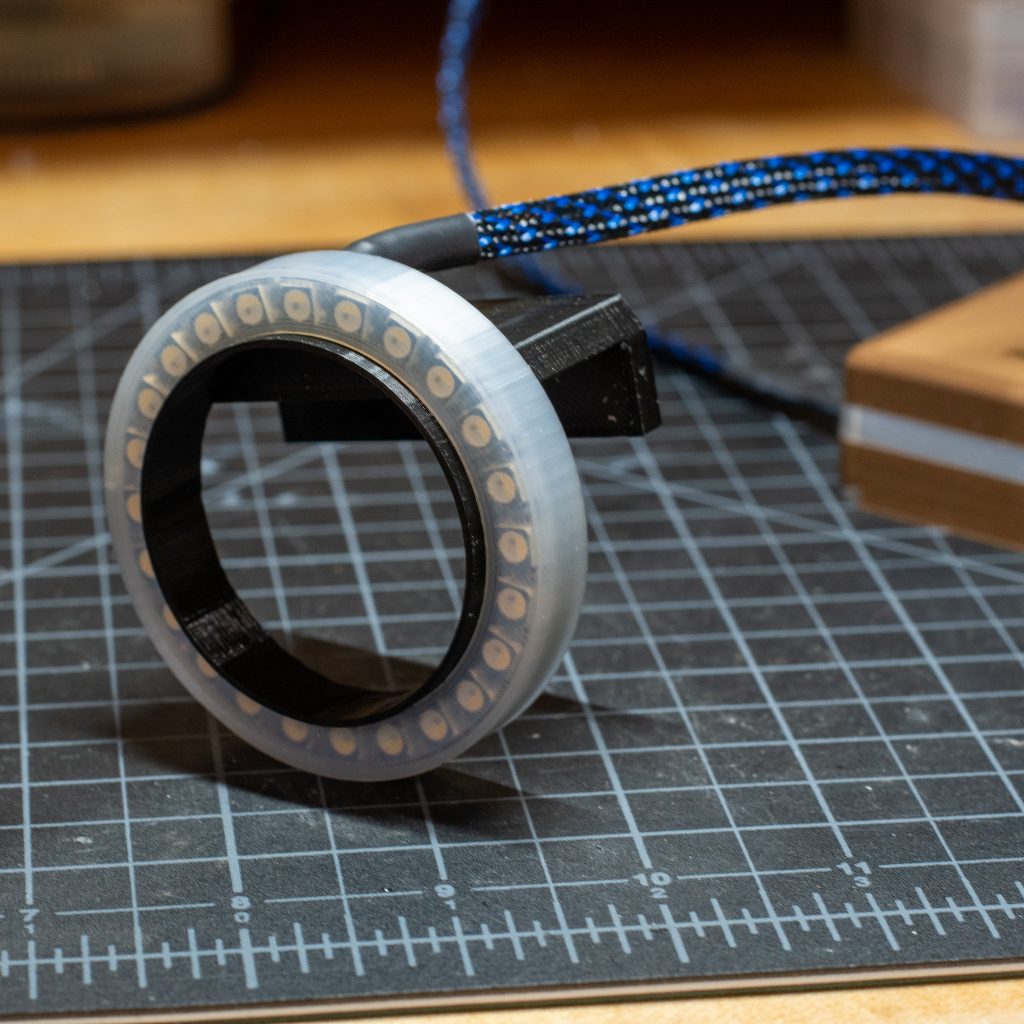
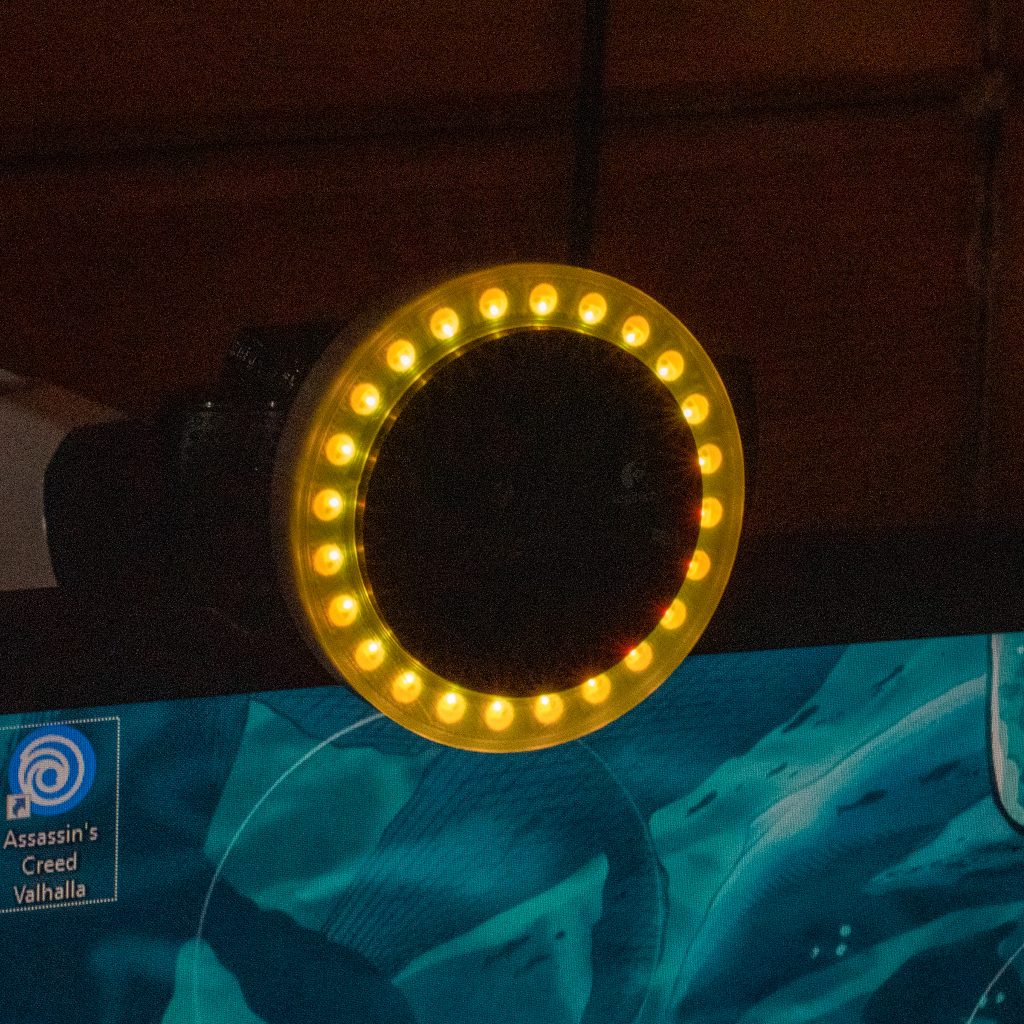
The most important piece is the RGBW neopixel ring. I used a 24 LED cool white ring, but you can use any version you like–you’ll just have to tweak the code and the 3D-printed mount.
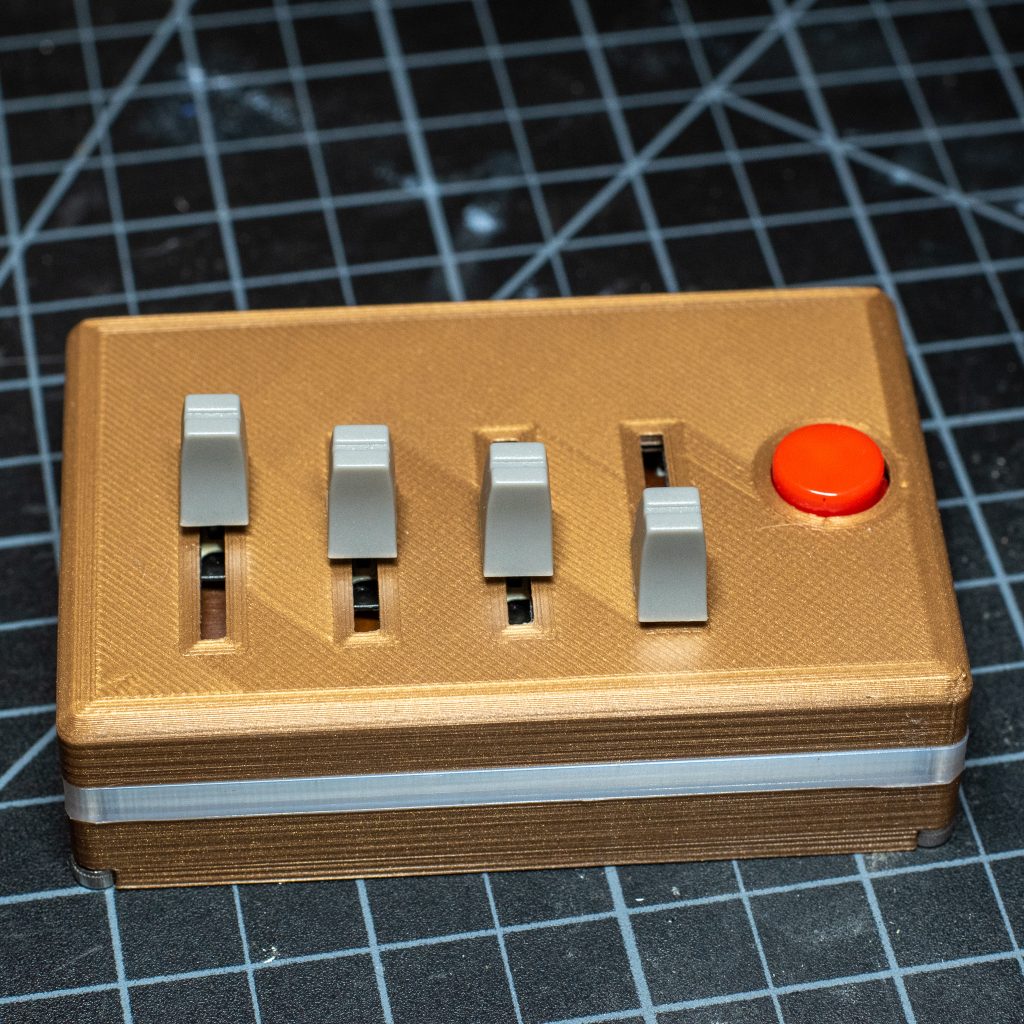
Assembly is fairly straight-forward, with plenty of space inside the housing for write routing and direct connections between slide potentiometers and pins. Red goes to A1, Blue to A2, White to A3, and Green to A4. The special effects button connects to A6. Pay attention to the spacing on the 3D printed lid. The sliders and button should line up perfectly with the corresponding holes on the lid.
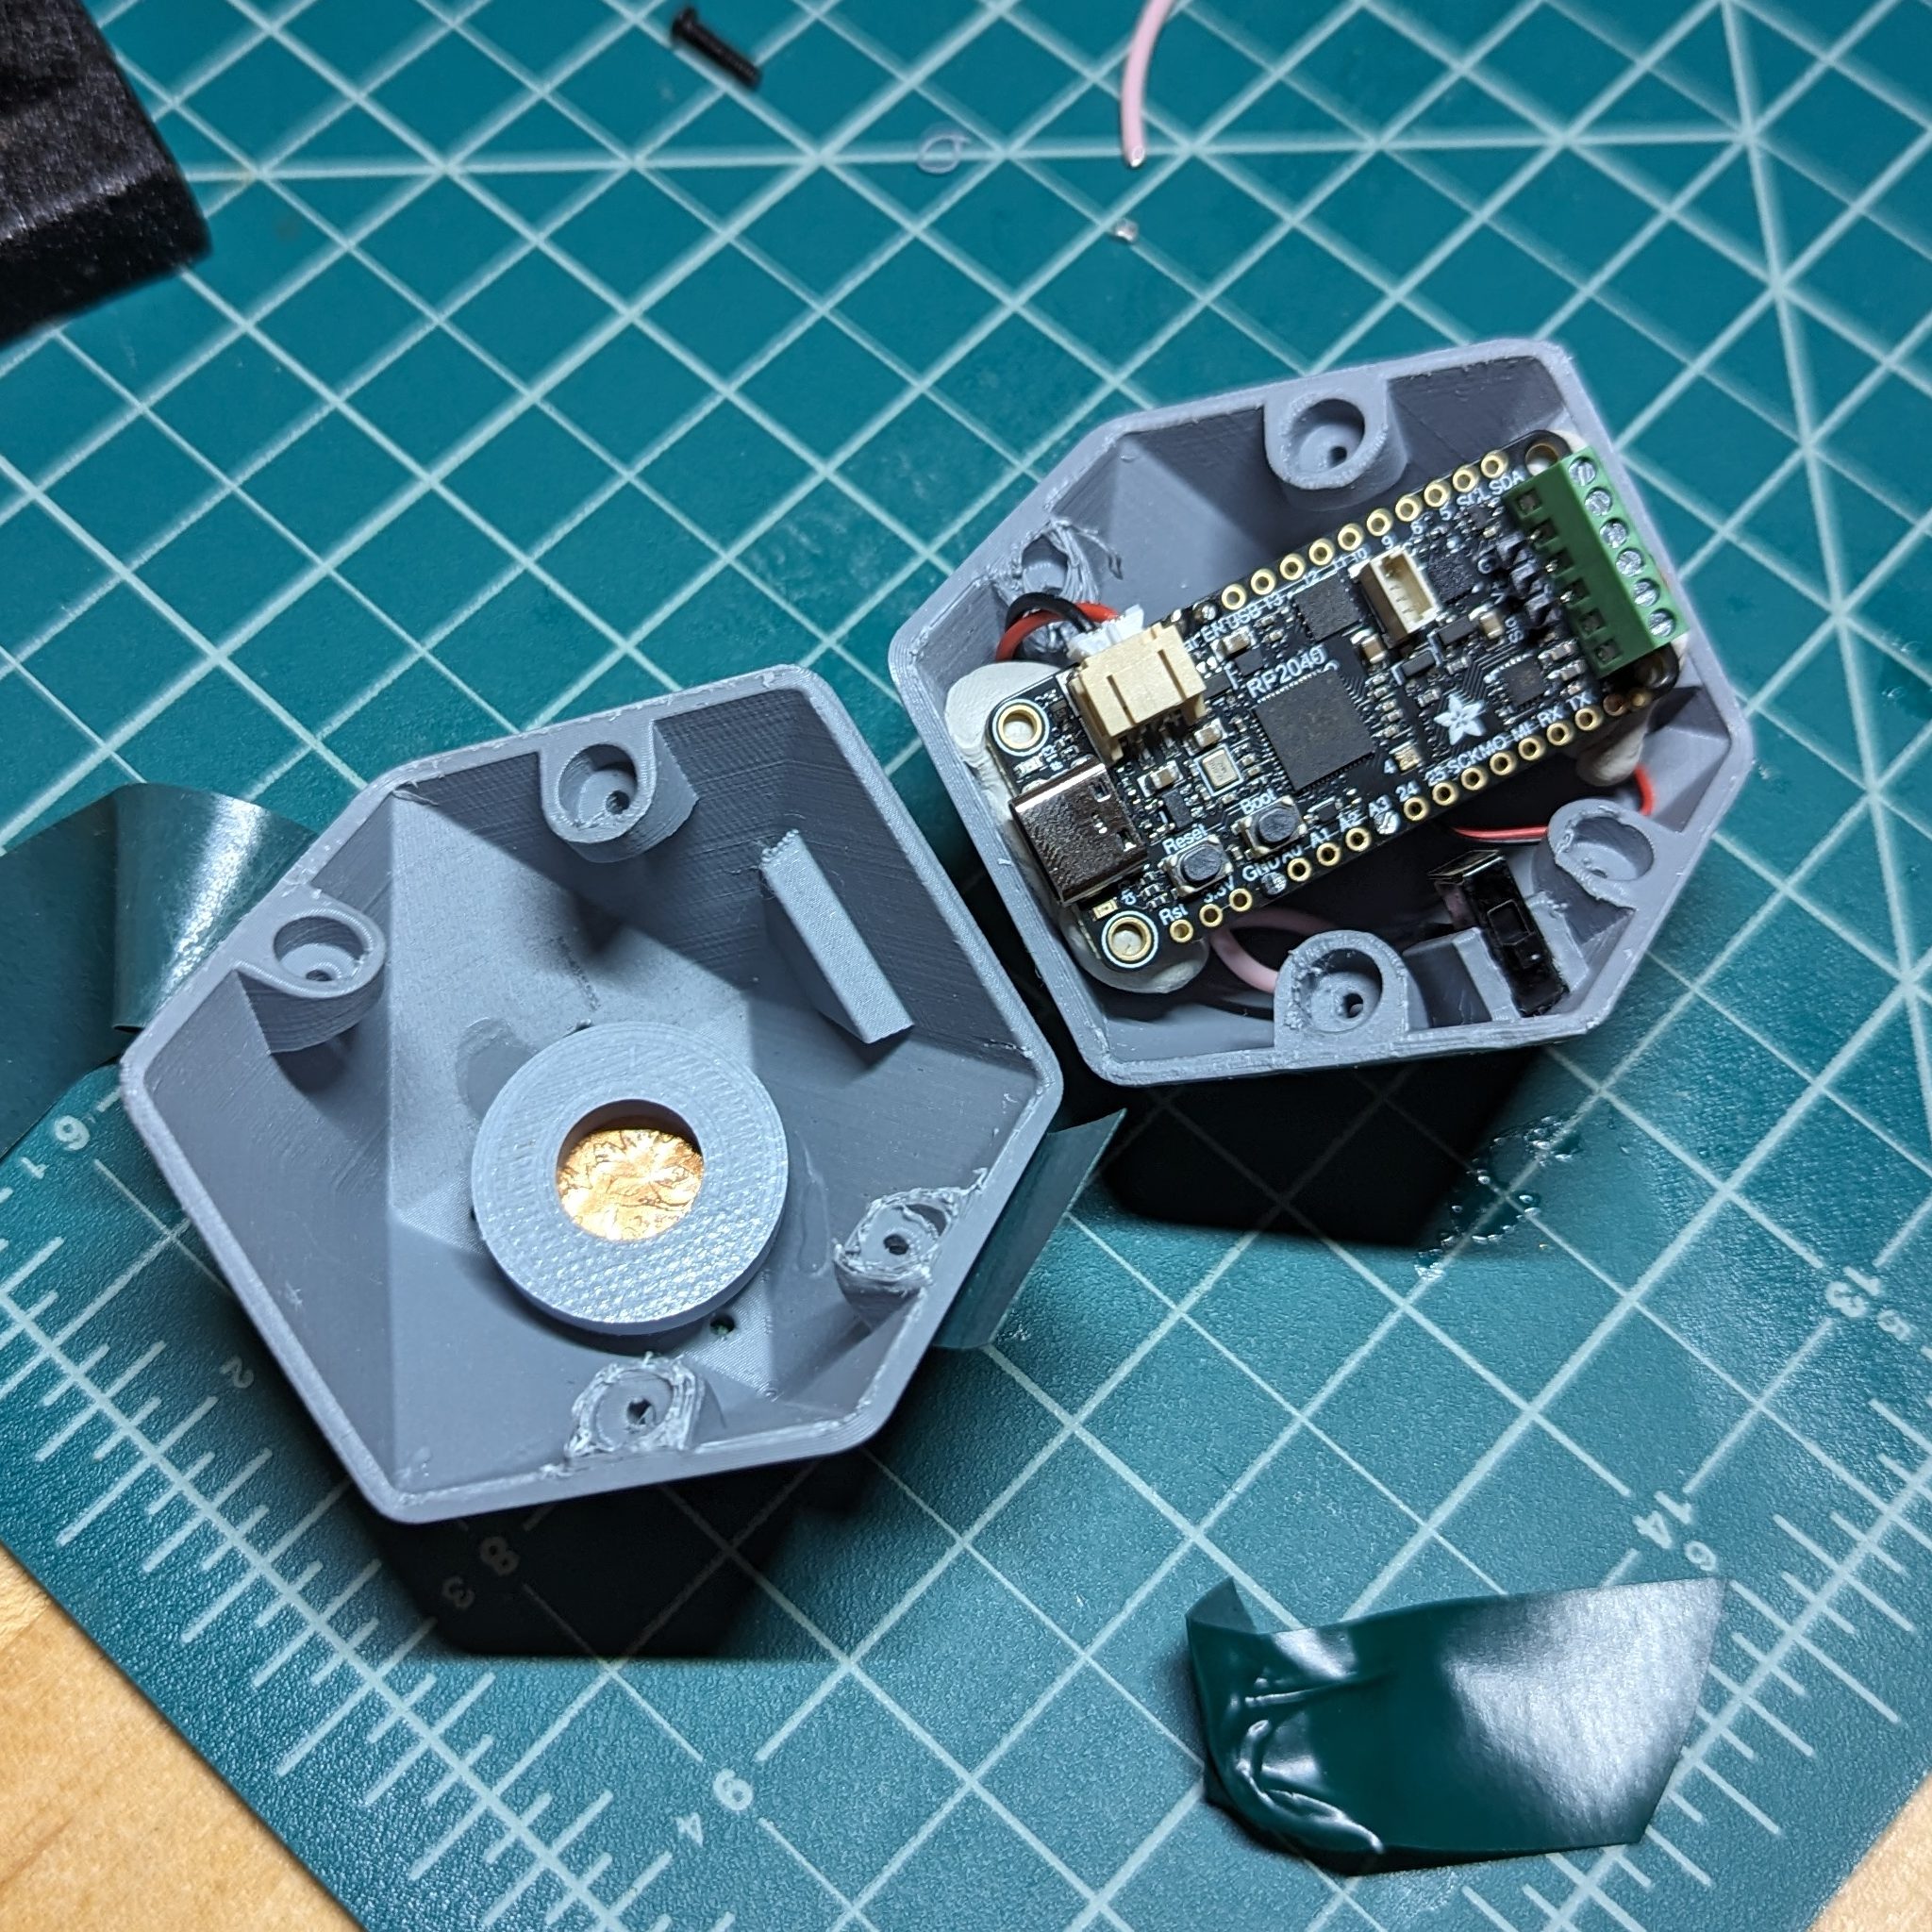
The housing is designed so that the Circuit Playground and protoboard can fit in after wiring, so you can solder everything up and test it before placing it in the case. I used a fancy detachable connector to make it easy to work on, but you can also just hard wire the ring light to positive, ground, and pin A5. Just make sure to route it through the pass through hole before soldering both ends. There are two pegs that hold the Playground in place so that it doesn’t slide around in the case.
Everything is sandwiched into place, so you won’t need to glue any components down. I used a nice sleeve to keep things looking clean, but that part is optional.
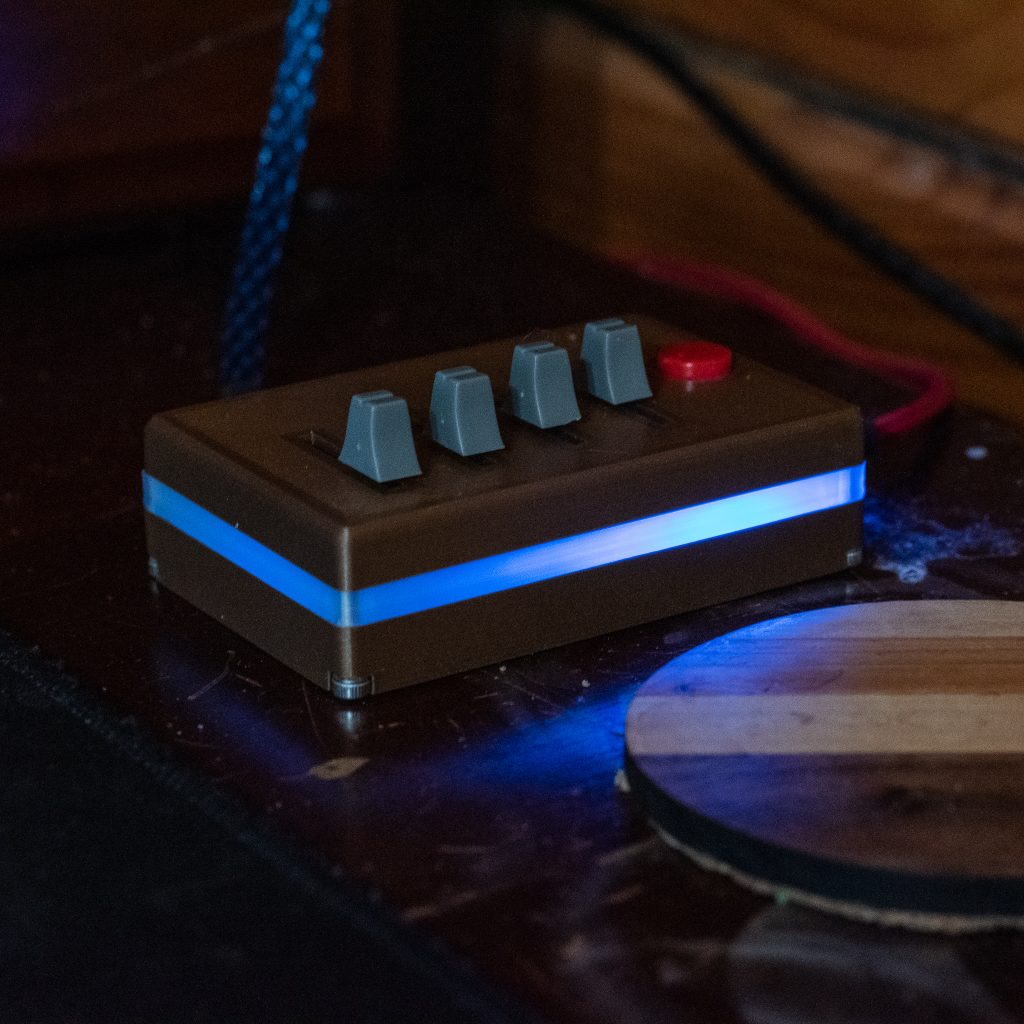
Everything is secured with 4 20mm M3 screws. For fun, I left in code to control the built-in LEDs on the Circuit Playground. If you print the middle section in transparent filament you can get a nice glow on the control unit, or code your own animations into it. I used 3D Solutech Natural Clear on the middle piece and Hatchbox Copper for the other two pieces box pieces.
You can find the 3D-Printer files on Thingiverse or GitHub. The ring mount is designed to slide over a Logitech C920-style web camera and was printed in Hatchbox Black. The optional diffuser was also printed in Natural Clear PLA.
And that’s really it! All that’s left is to power it on play with the sliders until you find your perfect light, hit the special effects button when you need to add some style to your remote meetings, and have fun.
There’s never a good reason not to have more ridiculous RGB in your workspace. Especially if you’re working from home.
Believe it or not, we are not sponsored by Adafruit, I just really like their projects and electronics (their M0 datalogger it the brain of the OpenCTD). If Adafruit is out of stock, you may be able to find parts through suppliers suppliers like Digikey, Sparkfun, or *that* site.
And speaking of South American rivers, if you’re going to dive into DIY electronics, the iFixit Pro Tech Toolkit is the single handiest set of basic electronics tools anywhere. And we do get a little cut if you buy it through our affiliate link.
Southern Fried Science is free and ad-free. We use Amazon Affiliate links when we discuss consumer products, which provides us with a small kickback if you purchase through those links. If you enjoy Southern Fried Science, consider contributing to Andrew Thaler’s Patreon campaign to help keep the servers humming as well as supporting the development of open-source oceanographic equipment.
This is so cool, I would love to try this as i have never seen an microcontroller that uses python to control a wide range of functions. I will try these steps to create my own ring light and if it works, I’m definitely sharing this blog with all my friends and family.