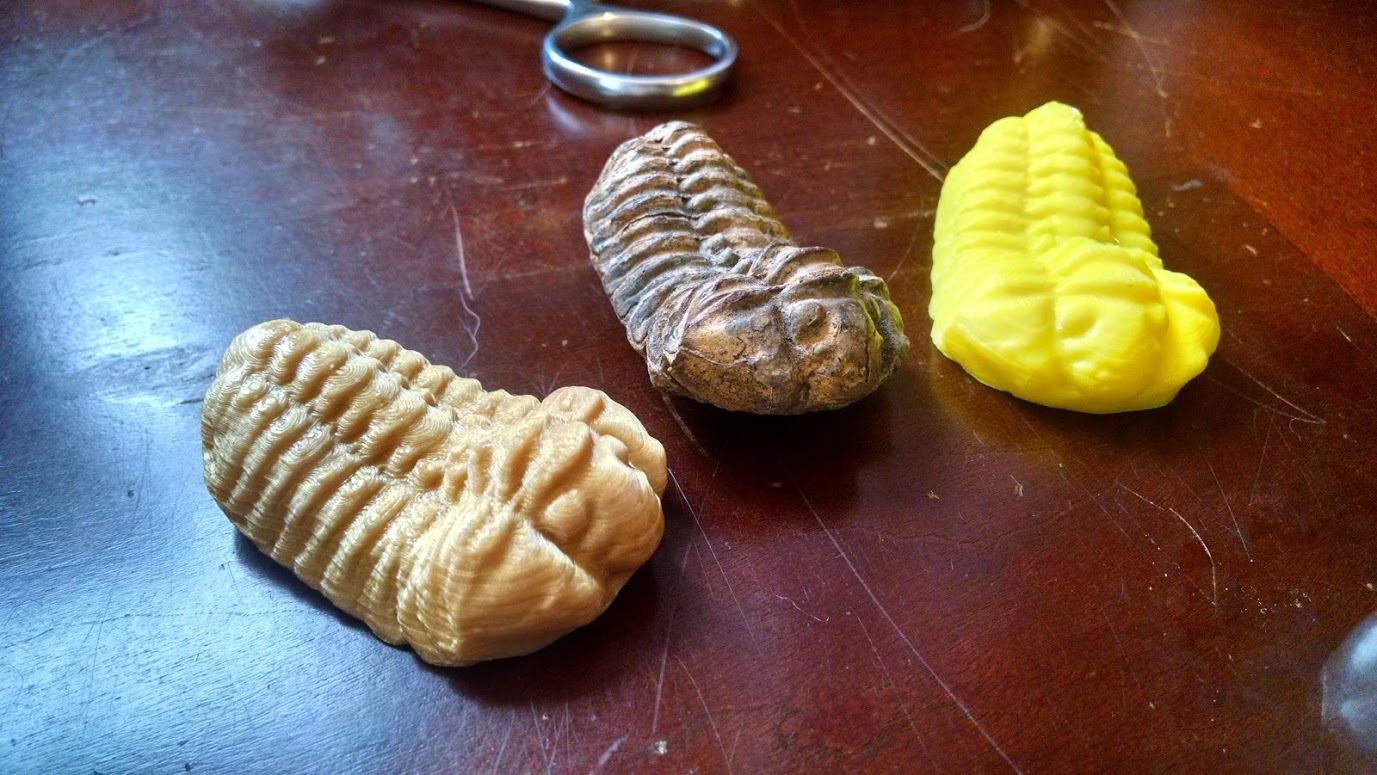
From simple sand dollars to life-sized hammerhead shark skulls, 3D printable ocean objects present an incredible opportunity for ocean outreach. Many commercial biological models are expensive, fragile, and often overkill for educators’ needs, where simple, robust, and easily replaceable anatomical models suffice. Over the last year, I’ve been honing my 3D printing skills, learning how to design 3D-printable objects, and mastering 3D scanning using free software and the now-ubiquitous smartphone. My designs, along with the open-source objects used for Oceanography for Everyone, can be found on my YouMagine profile (though Patreon supporters get early access to most prints).
Earlier this year, I wrote about how the ability to essentially photocopy a three dimensional object in a matter of hours revived my Ocean Optimism and opened up a whole new world of outreach possibilities. Since then, I’ve been working behind the scenes on some bigger projects that depend on 3D printing, one of which, Oceanography for Everyone launched last month. It’s a big ocean out there, and one person can’t possibly come close to producing a comprehensive collection of ocean objects. With several successful 3D scans under my belt, I think it’s time to share the process and invite the rest of the ocean-loving world join me in my efforts to scan the sea.
123D Catch, the software that powers it all.
123D Catch is a software package produced by Autodesk than converts an array of 2D images into a 3D shape. For non-commercial users, the app is free and works with Android and iDevices. The app guides you through the framing of each image and the position of your camera. Images are uploaded to Autodesk’s cloud service and compiled into a 3D model. An hour or so later, Autodesk sends you a message with the download link to your Object.
Setting the stage.
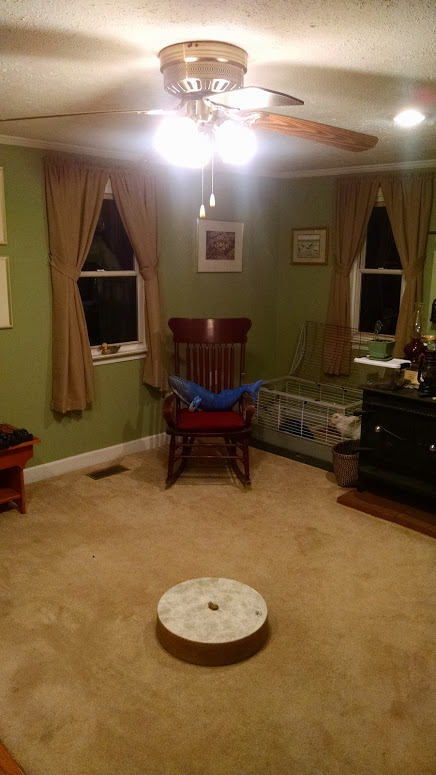
Setting the stage for good, clear, easy to compile images can be tricky if you don’t have a photography set up. After experimenting with several different layouts, I’ve come up with a simple, cheap set-up that gets the job done. I position softwhite LED light bulbs overhead to reduce shadows and provide clean, even lighting. Instead of a fancy surface, I mount my objects on a drum head. The FiberSkyn leather-like drum head provides a good, neutral tone that’s easy to edit out of the model and the random patterning meant to mimic stretched leather provides just enough reference for the software to align all the images cleanly.
In the past I’ve tried matte boards with multi-colored grid patterns and diffusers for lighting, as well as other set-ups, and the old Celtic Bodhran and overhead light setup still provides me the best results. In addition, it’s simple, cheap, and compact, no fancy equipment required and the results speak for themselves.
Post-processing.
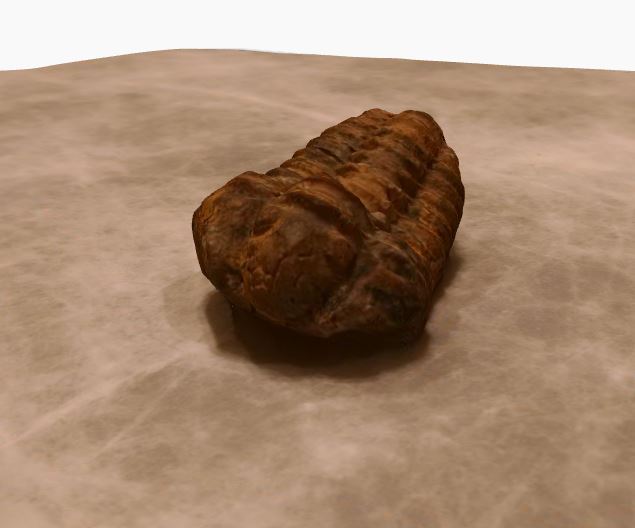
When Autodesk delivers your 3D model, there’s still a bit of cleanup left to do. 123D Catch has a companion desktop application that allows you to edit your scan. Open up your Object in the program and use the lasso tool to select and delete components that are not part of your scan (like the drum head, any back ground objects that were picked up, and any weird glitches that can be easily fixed). If you find the one or two photos are causing the model to fail, you can remove entire photographs from the model. You should be left with just the object you want to print and none of the filler.
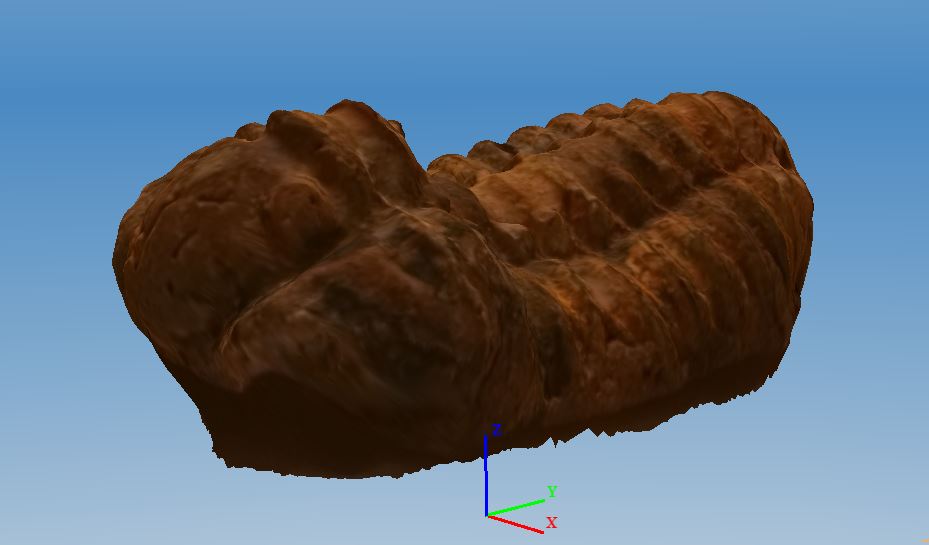
You’re not quite done yet. even if you have a perfect scan, not all 3D models are 3D printable. There are two absolutely essential characteristics that all 3D-printable objects must have.
- All 3D-printable objects should be manifold. That is, they have to be solid. Right now, your 123D Catch scan is hollow and constructed of infinitely thin edges that don’t connect on all planes. It won’t print.
- All 3D-printable objects should have a solid, flat surface to adhere to the print bed. In some cases, this mean flattening the bottom. In others, you may have to split you model in half and print both halves as separate objects that you glue together later.
There are a couple of free software packages that will help you fix this. Autodesk also produces Meshmixer, a powerful 3D editing program that lets you shape, tweak, and repair your model. It’s great for bigger touch-ups, for fixing gaps, and for moving things around to adjust your model. Meshmixer is pretty sophisticated, though, and I’ve found that for most of my models, it’s often a bit overkill. You will need it to convert the .OBJ files from 123D Catch to the more common .STL file used in most 3D printer programs.
My preferred cleanup tool may surprise you: Microsoft 3D Builder, which comes free on Windows 8 and Windows 10 machines. Like Paint, which is another program I use a lot, 3D builder is basic, but does a few things exceptionally well. When you upload a .STL, it autodetects whether your Object is manifold, and fills it in if not. From there, you can rotate your object and use the plane cutter function to make a nice, flat print surface.
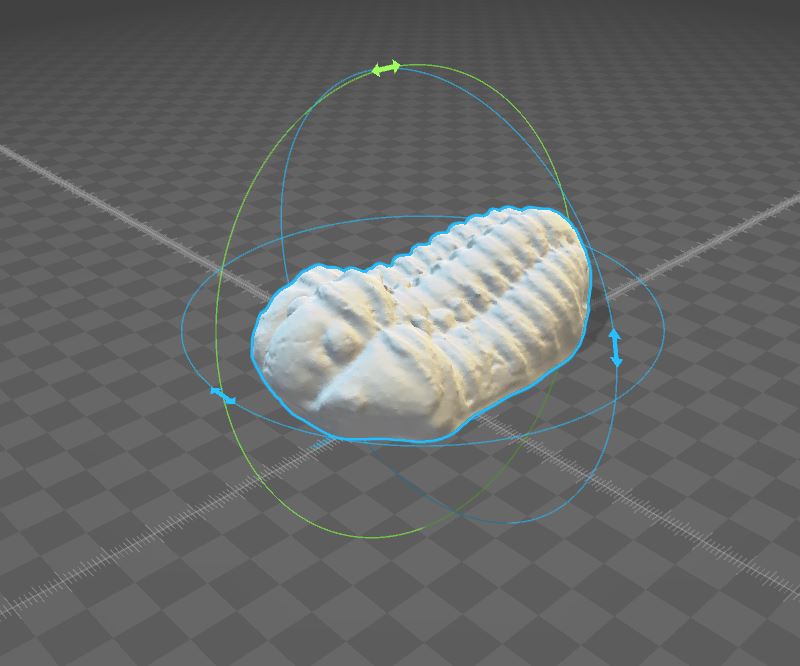
3D Builder isn’t going to let you make sophisticated edits to your model, but for basic fills and cuts, it’s my program of choice.
It’s time to print.
Up until now, everything involved in this process has been free (except for your smartphone, which we’ll assume you initially bought for reasons other than 3D scanning). Sadly, there are no free 3D printers, but the cost is going down and today a reliable 3D printer costs less than a high-end 2D printer. I use the Printrbot Simple Metal with an upgraded all-metal hot end. It is relatively inexpensive, has a small footprint, prints as low as 50 micro resolution, and is really tough. I even took this one out to sea with me and beat it to hell on Lake Superior, and it still prints like a champ. I’ve worked with quite a few printers over the last few years, and highly recommend this as your entry level printer. As a bonus, when you’re ready for a bigger print area or expand to more complex materials, you can upgrade the Simple Metal by adding a heated bed, increasing the vertical axis, expanding the print bed, or adding a dual-extruder without buying a whole new printer.
The ironic thing about 3D printing is that, now that you have a clean, manifold 3D-object, you’re actually going to convert it back into 2D layers–or slices–that the printer will then lay down slice by slice. I use Repetier to run my 3D printer. It’s a simple, no-nonsense program that gives you a lot of control over your printer. It can print directly over USB (my preferred method) or upload the G-Code to an SD card to print directly off the printer. Slicing is done via a few different options. I use the pre-packaged Slicer app, but have good experience with CuraEngine, too.
Make sure your print bed is clean and your Z-Axis is leveled (your printer set up instructions will tell you how to do that). Lay down a layer of painters tape and, if you’re like me, spray a mist of hairspray over the bed to help things adhere (I use TRESemmé Freeze Hold Hairspray, FYI).
All that’s left is to hit print and wait (or, like just about everyone else new to 3D printing, watch the entire thing print out layer by layer because the future is amazing).
Take a photo and upload your printer files.
Once you have an Object that prints well, it’s time to share it with the world. I host all of my files on YouMagine and I strongly recommend you do, too, especially for ocean objects. Over the next few months, I’m curating a collection of good, high-quality, easy to print Ocean Objects that educators and ocean outreach programs can print and use. Because 3D models can be unprintable in surprising and unexpected ways, please also upload a photo of a completed print along with the model. If you want to get scanning and don’t have a printer, ping me and I’ll help you find someone to print it out for you. Finally, tweet your creation using the Twitter hashtag #ScanTheSea and let’s create a resource for ocean lovers, together!
My 3D-printing endeavors, specifically, and Southern Fried Science generally are supported through the gracious contributions of my Patreon patrons. If you appreciate this guide or want early access to some of my 3D designs, consider contributing a few dollars a month to help offset the cost of running these projects.