What makes a good 3D printer for field work? It needs to be reliable, it needs to be durable, it needs to be reasonably portable. It also needs to print good, strong parts with decent resolution. They don’t have to be pretty, but they do have to work.
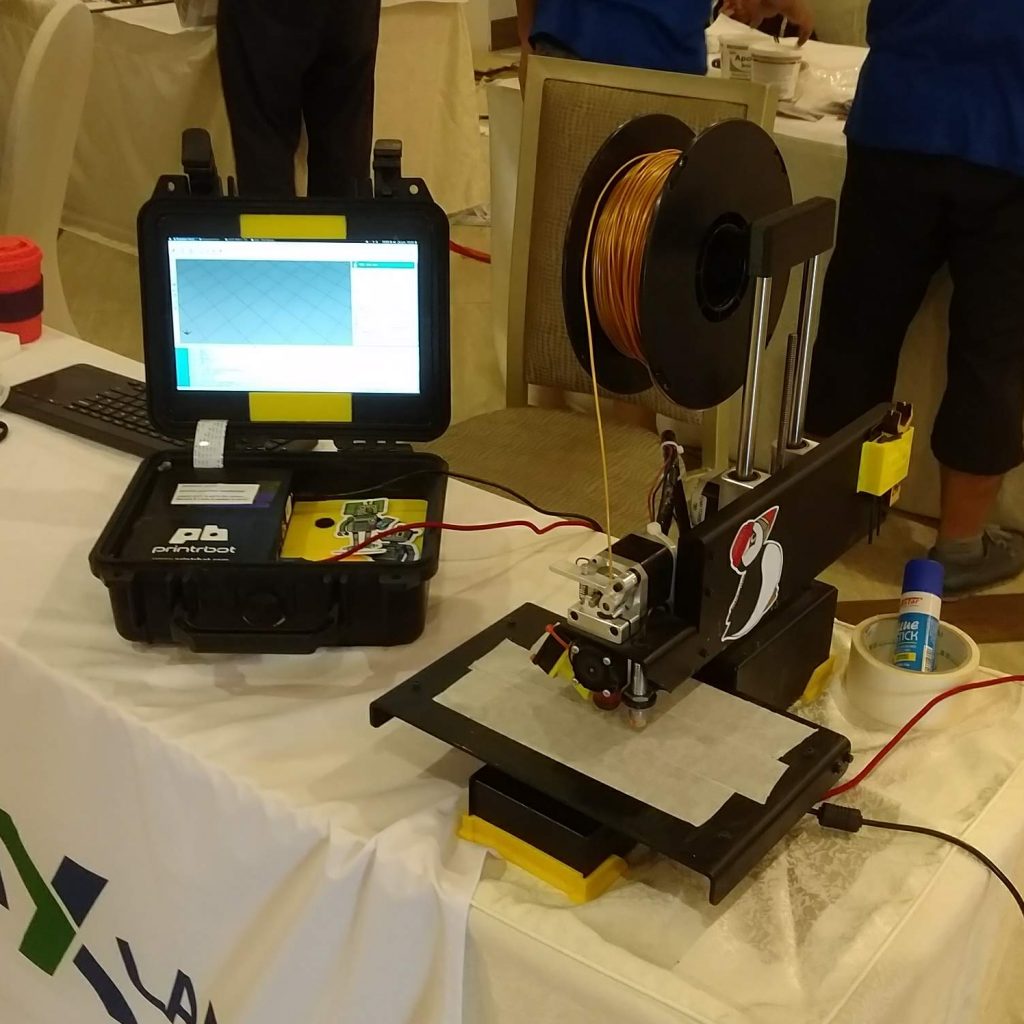
Last year, if you asked me what the absolute best 3D printer for field work was, I wouldn’t have hesitated to tell you it’s the Printrbot Simple Metal. This little beast has traveled the world with me, gone to sea, and taken an absolutely massive beating. And it’s still my main workhorse. At $600 plus a lot of custom modifications, it’s still the best deal in terms of quality, cost, and reliability out there.
If you can find one.

Printrbot went out of business last year, due in large part to the proliferation of cheaper machines that have pretty good quality. The company sat in an awkward niche, too expensive for entry-level consumers, not quite up to par for people looking to drop several thousand on a professional machine. As important as it is to me, “can you kick the crap out of it and drop it off a boat?” is not a criteria that rates highly for most people who want a low-cost machine that will sit comfortably on a desk forever.
But that puts me in an tough spot right now. Conservation Tech, especially low-cost, open-source conservation tech, is booming, and we need machines that work in the field on the budget of a conservation biologist. I couldn’t tell you what the best cheap 3D printer on the market is right now for people who need it for field work, travel, or just want a tough machine that works and doesn’t cost much.
So I’m going to buy a bunch, beat them to hell, and figure it out.
The Southern Fried Science Ultimate 3D Printer Review Process
All slicing will be performed using the Cura Engine. Each printer will be loaded with a brand new spool of Hatchbox PLA filament, which it will print from the entire time. Initial prints will be conducted using standard setting for each printer, special steps like adding glue, hairspray, or a brim for bed adhesion will only be done after print failure. Each test will be grades A to F.
The Burn-in. Most 3D printers aren’t ready to go right out of the box. This is especially true with the lowest-cost options on the market. Before I get to the serious review, I’ll spend some time getting to know the printer, checking its calibration, and printing a few test pieces to get all the best settings dialed in. Once I am confident that the printer is configured such that it should print most uncomplicated Things without any additional changes to the settings, we’re ready to begin.
The Benchmark Test. Benchy, the funny little 3D boat that you’ll find floating around every makerspace is actually one of the best and most reliable objects for benchmarking the quality of a 3D printer. As a benchmark, it tests angled overhangs, bridges, vertical and horizontal details, level and angled surfaces, and a host of other features. A good benchmark is essential for comparing quality across printers and Benchy is my benchmark of choice.
As an added bonus, I’m also using the Benchy Smartphone Studio to take standard, controlled images of each Benchy for more precise analysis.

Benchies will be printed at 100 micron resolution with 20% infill. All other settings are Cura defaults for the selected printer.
The Replication Test. If you spend any time in a makerspace or 3D printing lab, you’ve certainly see Cute Octopus Says Hello, the little blobby octopus that waves at you. This is a fairly simple print with a couple of tricks up its tentacled sleeves. The tentacles like to drift away a little if bed adhesion isn’t good and there’s just enough details in the design to challenge a 3D printer. For this test, I’m printing 3 Cute Octos in a row, using identical settings and conditions but allowing the printer to cool down and reboot between prints. This will allow me to assess how consistent the printer is across prints.

Cute Octopus Says Hello will be printed at 50% scale and Cura default fine settings for the selected printer.
The Functional Parts Test. A good field printer can’t just print parts that look good, it has to print parts that work. Just another Nut and Bolt is a nut and bolt. They thread together. When printed well they provide a nice, strong hold. Threads should print cleanly without and support structures, should not sag, and the nut should spin freely over the bolt with minimal resistance, but grab and bite as soon as it contacts the bolt head.
Just another Nut and Bolt will be printed at using Cura default fine settings for the selected printer.
The Complex System Test. Now we’re getting into the real meat of the challenge. You didn’t bring a 3D printer into the field to make adorable octopuses and jaunty little tugboats, you brought it to make gear. The Niskin3D is my own 3D-printable Niskin bottle trigger for taking discrete water samples. It has both tiny fiddly parts that print on an arc and big chunky parts full of curves and holes, all of which have to work in concert with a servo to trigger the spring mechanism.
Each printer will have to manufacture a complete Niskin3D which will then be tested repeatedly for consistency, reliability, and durability, in gross, cold, brackish, oily Chesapeake Bay marina water.
Niskin3D will be printed at Cura default fine settings small parts and 200 micron resolution with support structures for 85% overhangs for the largest part.
The Precision Instrument Test. We’re not just looking for big, burly parts from a field printer. We also need precision. One of the projects I’m currently working on is an open-source octant to teach celestial navigation (an extension of my Mariners’ Astrolabe project). And one of the key components of that is a Vernier scale. The Vernier scale is tiny and needs to have precise, readable, gradations. The highest resolution you can print it at and still get a serviceable component is 50 microns.
Unfortunately, the complete octant isn’t done, so I can’t take a sighting using each printer, but I can assess the quality and utility of a Vernier printer by each machine. The shape file will be available on Thingiverse before the first review.
Vernier scales will be printed at 50 micron resolution. All other settings are Cura defaults for the selected printer.
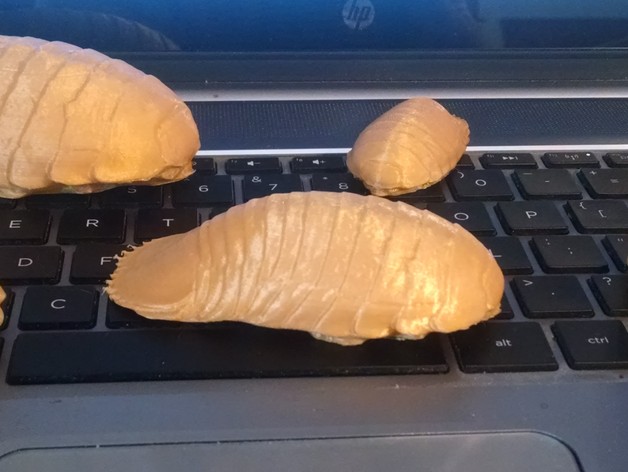
The Educator’s Test. Sometimes we also need to print teaching aids to better illustrate the ecosystems we work in. For this, I’ll be printing the Giant Deep-sea Isopod, based of a scan from a real specimen at LUMCON. Unlike the other designs and benchmarks, the Giant Isopod isn’t a model. It doesn’t have clean, geometric lines smoothed by CAD. It’s lumpy and asymmetric and optimized for life at the bottom of the Gulf of Mexico, rather than a print bed. It’s not the most challenging print on the list, but there’s enough fine detail, overhangs, and small, angular points to gauge how well each printer does with biomodels.

Giant Deep-sea Isopods will be printed at 100 micron resolution with 20% infill at 10% scale. All other settings are Cura defaults for the selected printer.
The Tear-down. You didn’t think I was going to print a bunch of plastic doodads and then stop, did you? Once we’ve assessed the quality of the printer, the real fun begins. Each printer will be torn down to look at wear, build quality, and component choice.
The Trash Test. There’s no way around it. 3D printers produce plastic waste. PLA can be composted, but it’s best to produce as little waste as possible. For the entire test, I’ll collect every scrap of waste filament to weigh at the end of the review. This will not only provide a decent gauge of the wastefulness of a printer, but also, as the waste will include all the failed prints, its reliability.
I’ve selected 4 printers for testing based of a few preliminary criteria: they have to advertise at least 100 micro resolution; they have to be reasonably broadly available; they can’t require proprietary filament or software; and they have to cost less the $200 USD.
The current contenders:
- iNSTONE Desktop DIY ($99)
- Monoprice Mini Delta ($160)
- Monoprice Select Mini ($190)
- Anet A6 ($198)
- Creality Ender3 ($195)
Depending on how successful this project is, I may expand to include printers in the $200 to $400 price range. If you want to help make that happen, you can either use the Amazon Affiliate links in the post to buy printers, consumables, or, really, anything or you can sign up for my Patreon and help support Southern Fried Science.
