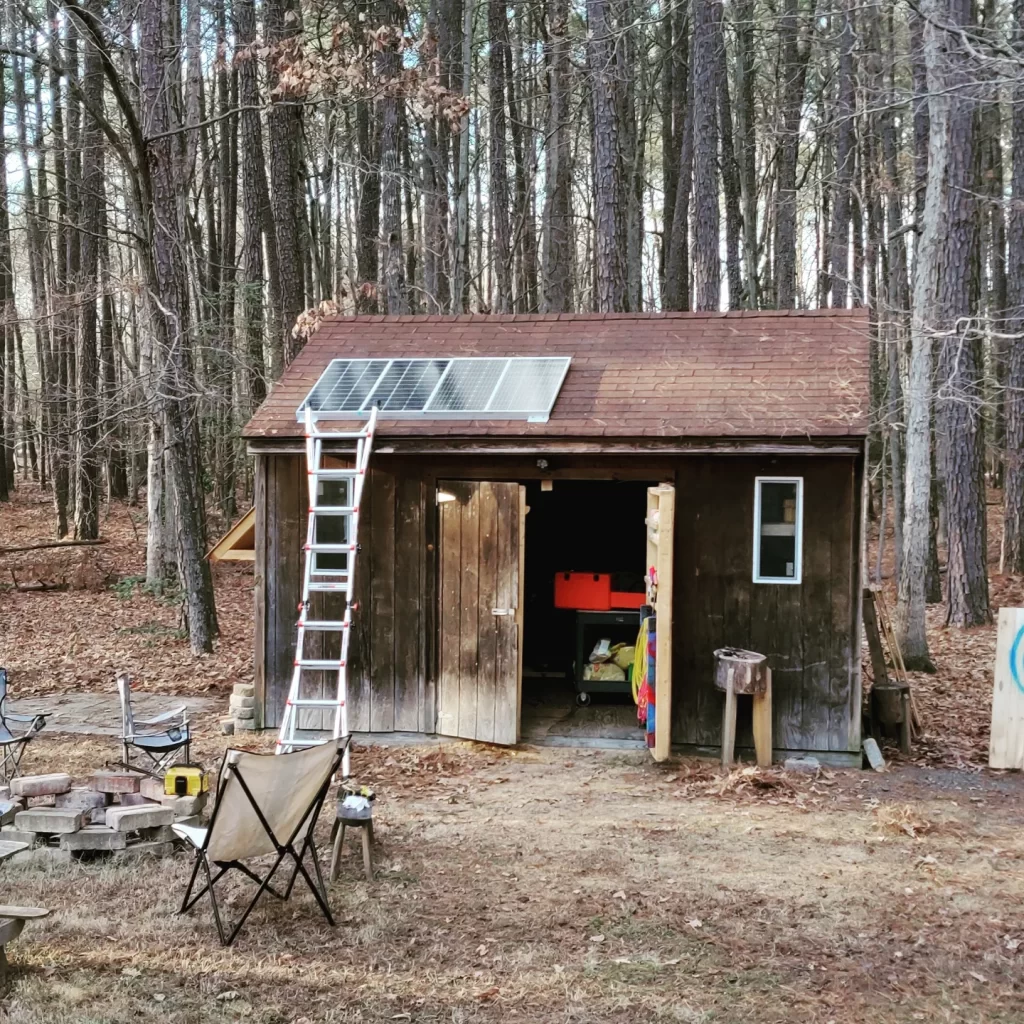
Two years ago, I set out on a little mission: to build an off-grid solar array that would power my woodshop. This array needed to charge all my cordless batteries, but also drive my table saw, miter saw, circular saw, and the big router on my slab flattening jig. But there was a catch. The entire system could cost no more than one American Recovery Act stimulus check.
That first build can be found here: I turned my woodshop into a personal solar farm.
It worked. I beat the heck out of that set up and, other than in the dead of winter when it was too cold for the battery, it could handle most everything I threw at it, pretty well. It wasn’t perfect, and it had some issues with overdrawing, but the safety stops I put in place ensured that when I did push it too hard, it shut itself down rather than compromising components. There were limits, though, as I added bigger tools like a bench planer and started hogging through much tougher stock, I began to run into more and more issues.
So here we are, 2 years later, with all the upgrades and modifications that I made to my off-grid workshop to keep things running hard.
I screwed up the bus fuse.
This is the one part of the original build that I did wrong. The 250 Amp bus breaker connects the 3000 watt inverter to the batteries as well as the 12v panel. I sized it too small. It could not handle the loads being called by the inverter and resulted in many instances where the inverter’s internal safety stops tripped because it was undervolted. I liked the old one because it had a manual trip, so I could disconnect the battery at will, but that set-up was just too wimpy and when I pulled it off this winter, I could see just how much wear there was on the switch mechanism.
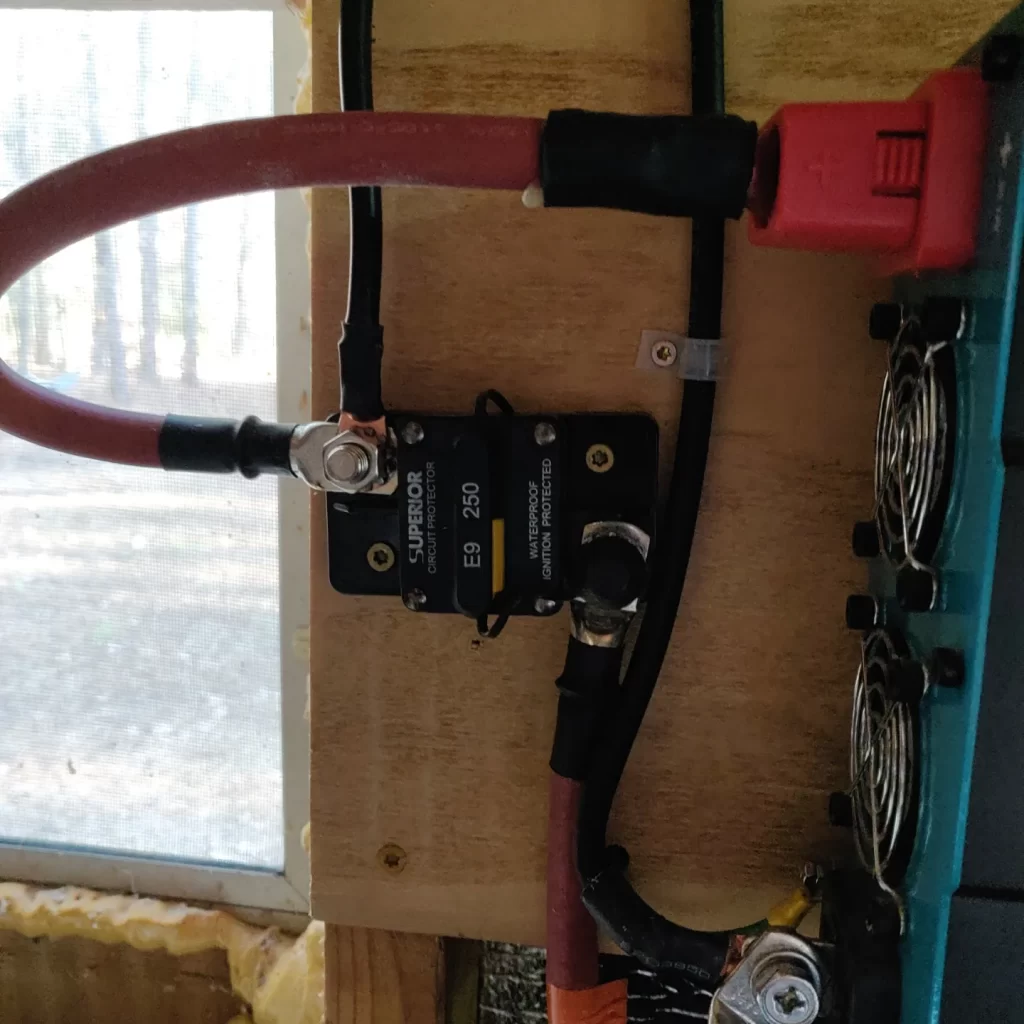
I swapped it out for a much stouter 250 Amp breaker that can handle higher current draw and haven’t had the inverter trip yet.
Parts: 250 Amp Circuit Breaker with Manual Reset
More Panels.
This one is obvious. The system was always designed to be expanded and this winter I added two more 100 watt panels to keep the batteries topped up even when the sun isn’t perfect. I pulled off the old mounting system and added a hinged bracket using aluminum angle to make working up on the roof easier and safer. I also changed the way the power lines enter the shed to make them less exposed and clean up the cable management, but there’s not much else to this upgrade.
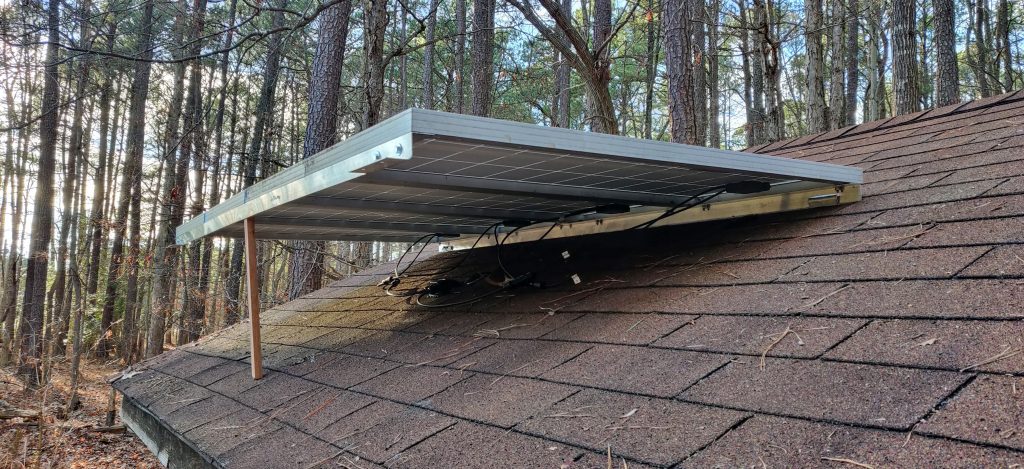
The system can still receive another 400 watts of panels before I need to think about upgrading the charge controller.
Parts: 100 Watt 12 Volt, High-Efficiency Monocrystalline Panels, Waterproof ABS Double Solar-Cable-Entry-Gland
More Batteries.
The secondary goal of this project was for it to act as an external backup generator for the house in the event of a power outage. The original set-up could run our pellet stove indefinitely, but not much else. To get some long-term backup, I added two more batteries, bringing the system up to 300 amp hours of capacity. That’ll run the pellet stove continuously for about 27 hours, which is more than enough time to get through a couple days of low power and not great sunshine. Or it’ll run a bench planer continuously for an hour and a half.
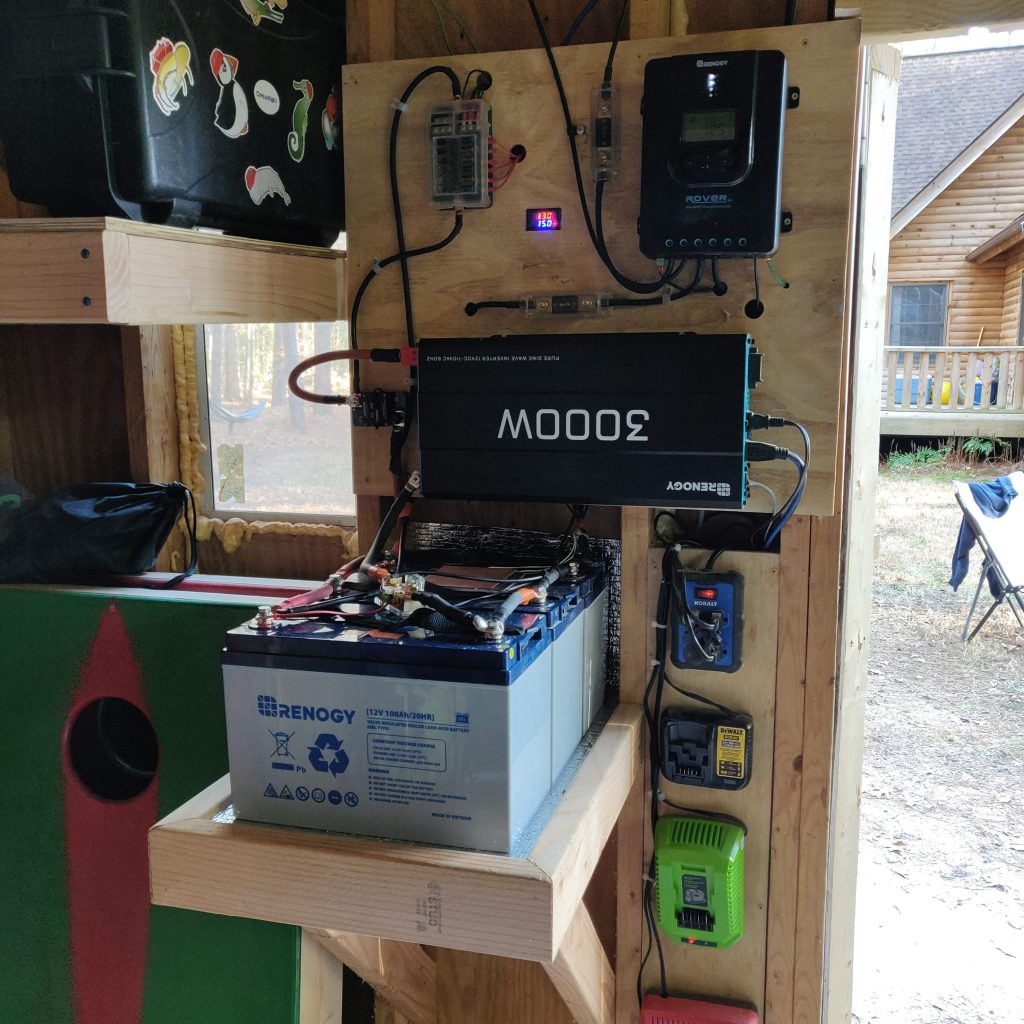
I also built a box around the batteries to keep them protected and insulate them from the cold.
Parts: Renogy 12V 100AH Deep Cycle Hybrid Gel Battery, 3MM Reflective Foam Insulation Shield
More 12v Accessories.
Probably the most significant performance upgrade I did was to install a low-wattage heater in the new battery box, along with a lot of extra insulation. This little 12v heater, when combined with a temperature relay, will keep the batteries at a nice, warm 15oC. This ensures that we get the best possible performance, even when it’s below freezing. And its low power consumption means that the heater barely affects the charge state. It could run continuously for 10 days without a fresh charge. Solar power is cool.
Parts: Electric Heater Plate, 12V Electronic Temperature Controller
There’s no way I could build an off-grid solar shed without also kitting it out with the nerdiest DIY electronics possible. So, in addition to everything else, I turned my shed into a bluetooth-capable Cybershed, complete with addressable RGB lights that can dance to music, add some ambience, or glower menacingly in Cylon mode. The Cybersher also allows me to access battery and panel information from my phone, in the event that walking the 20 feet from my office to my shed is too great a burden. Along with that, I made a substantial upgrade to the control panel, adding real, honest-to-cod light switches and a remote controller for the power inverter.
If folks are interested, I’ll do a whole guide on how to make the power regulator and control module for the Cybershed.
More Monitors.
I like data. You like data. We all like data. I also like to gain a better understanding of how much power my tools are actually consuming during use. The solar charge controller does an OK job relaying battery state, but to really understand what’s happening under the hood, I needed a shunt on the battery to measure current under load. With the shunt installed, I then routed a monitor to the new control panel next to the safety station in my wood shop. Now I can watch my batteries slowly charge and quickly drain in real time, with a handy little real-time estimate of how many beans I have left in the can. Neat.
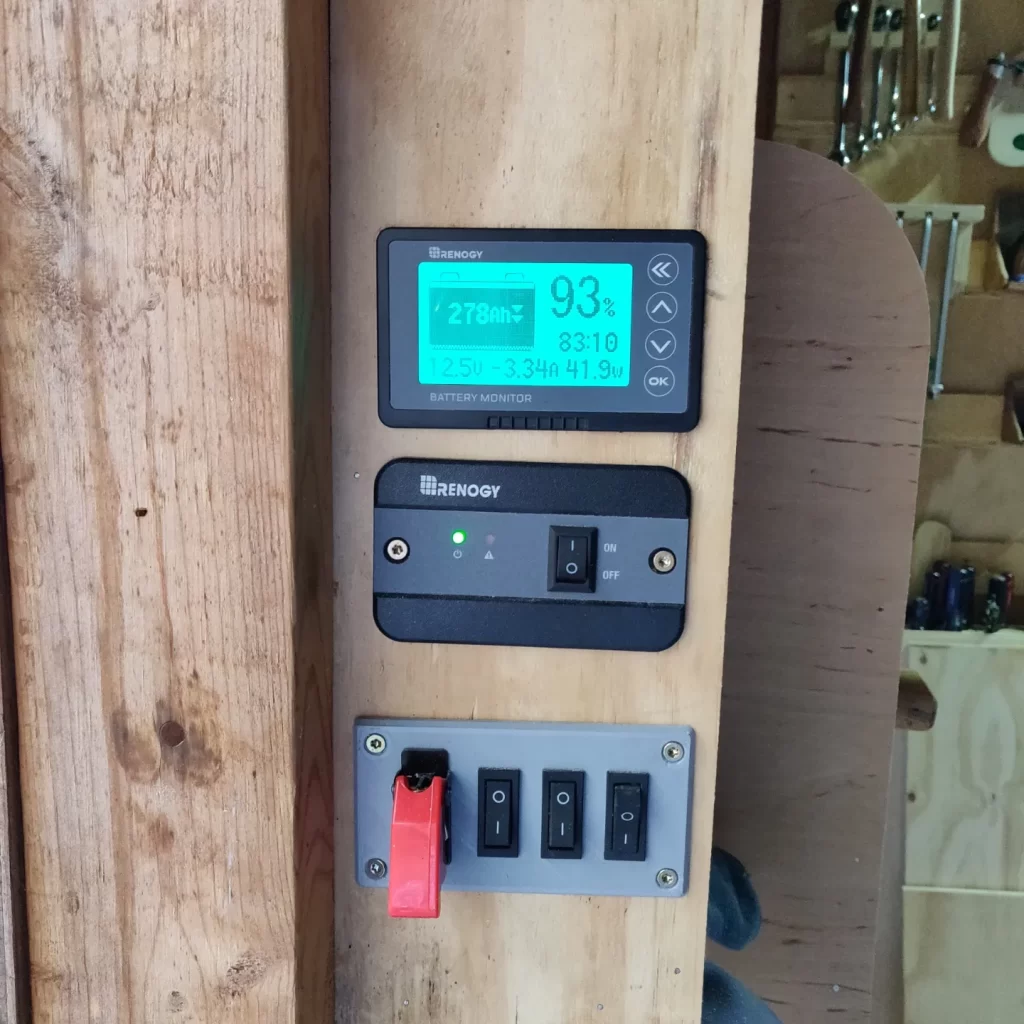
Parts: 500A Battery Monitor with Shunt
So that’s where we stand with the DIY off-grid solar toolshed today. A 400-watt system with 300 amp hours of batteries and an array of monitoring tools running 120v and 12v systems. It runs a table saw. It runs a bench planer. It runs a slab flattening router system. It’ll power my pellet stove indefinitely. With all of the upgrades installed, the full system cost about $2500 total.
Southern Fried Science is free and ad-free. We use Amazon Affiliate links when we discuss consumer products, which provides us with a small kickback if you purchase through those links. Southern Fried Science and the OpenCTD project are supported by funding from our Patreon Subscribers. If you value these resources, please consider contributing a few dollars to help keep the servers running and the coffee flowing.
All photos by author.

